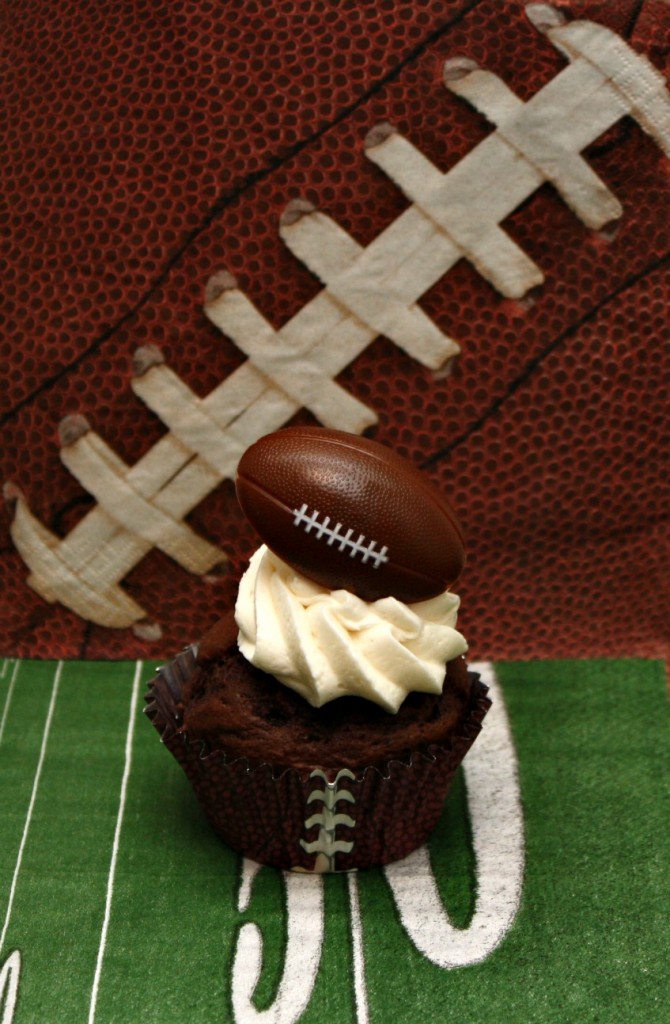
I am by no means an expert on how to take better photos. However, I’ve seen some really shitty photos floating around, so I’m here to give a few tips. I’m going to teach you how to make a photo backdrop, so your photos have a more professional feel to them.
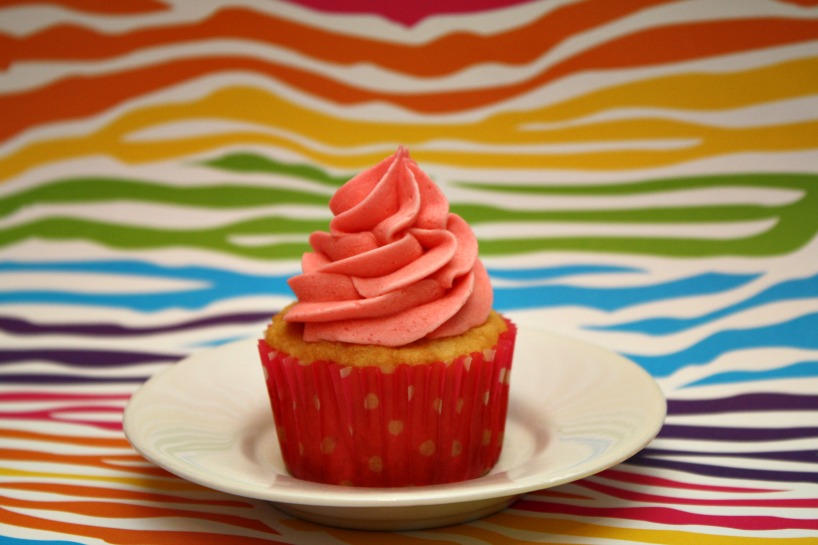
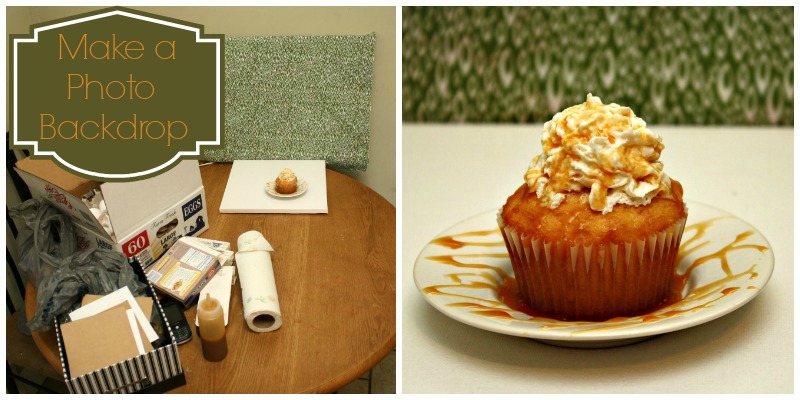
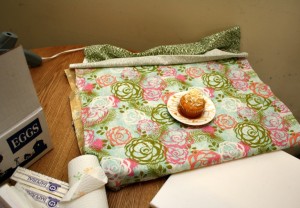
The supplies are inexpensive, and the possibilities truly are endless. From napkins (seen above), to scrapbook paper (below) and fabric (below), you can create a photo board back drop for any occasion.
First, gather your supplies! You’ll need:
— blank canvas (size doesn’t matter as long as it’s 12×12 or larger)
— fabric (enough to cover the front of the canvas, times however many you want to make)
— hot glue & hot glue gun
— scrapbooking paper (optional)
How to Make a Photo Backdrop
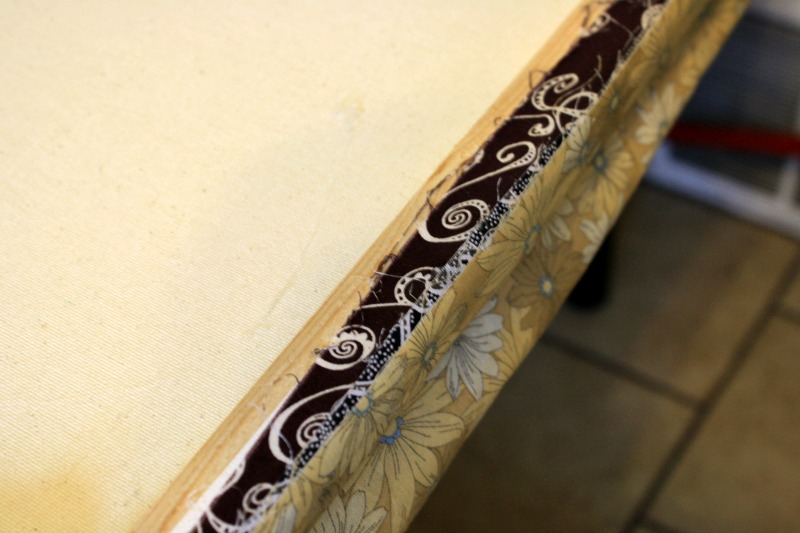
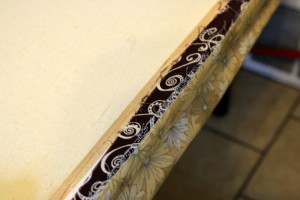
Cut your fabric to fit around the front of the canvas. I bought each piece of fabric for $.97 at Walmart, and it measured 18×21 I believe. It covered the canvas, and then some.
If you’re making ONE backdrop, place dots around the entire canvas, one small section at a time (it dries quickly), and attach the fabric.
If you want to make SEVERAL backrops on one canvas, just place the glue dots on the top of the canvas. You can then flip through the fabrics and take photos on different backdrops with ease!
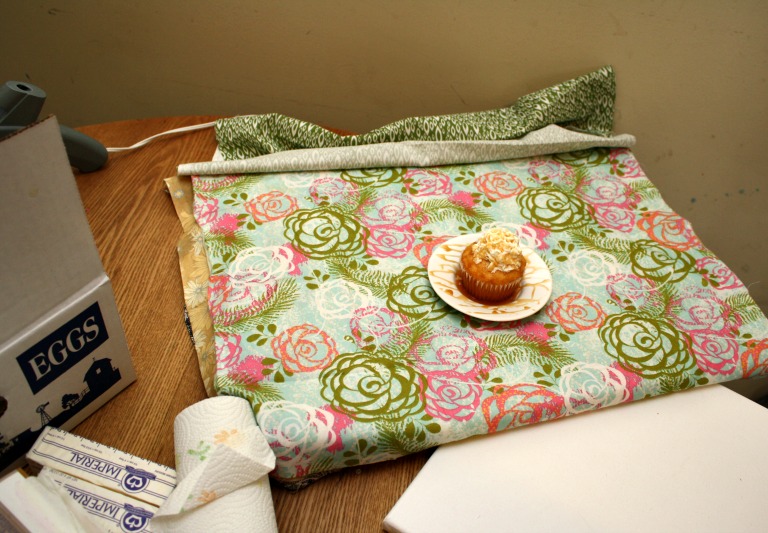
Set the canvas down outside if you can. Natural lighting is best! I took photos inside today because it’s raining. See how this looks? Kinda crazy. But wait…

Get up close, crop it a little, dress it up in PicMonkey, and you have a decent photo – ready for your blog!
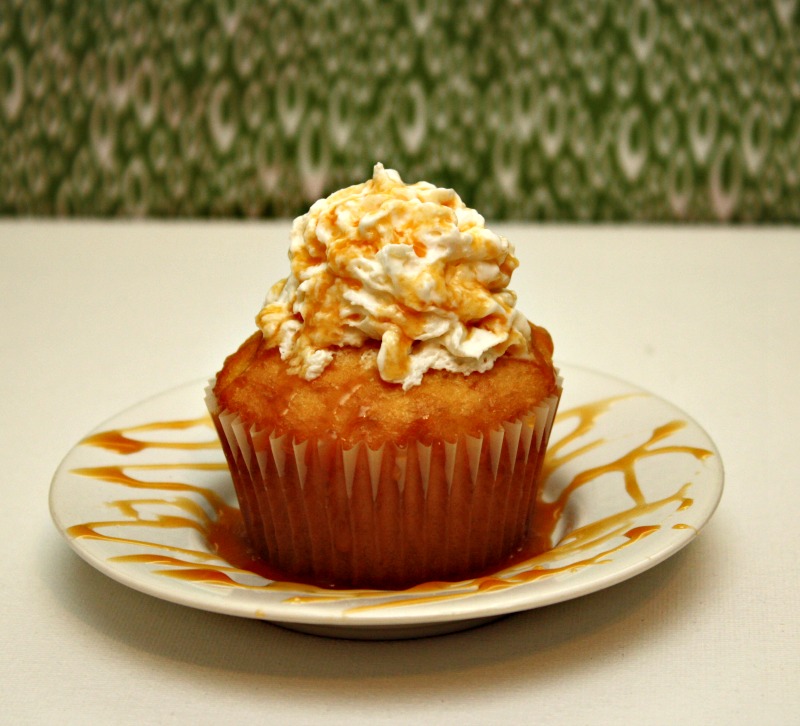
I usually airbrush the background a bit to make it blend in.
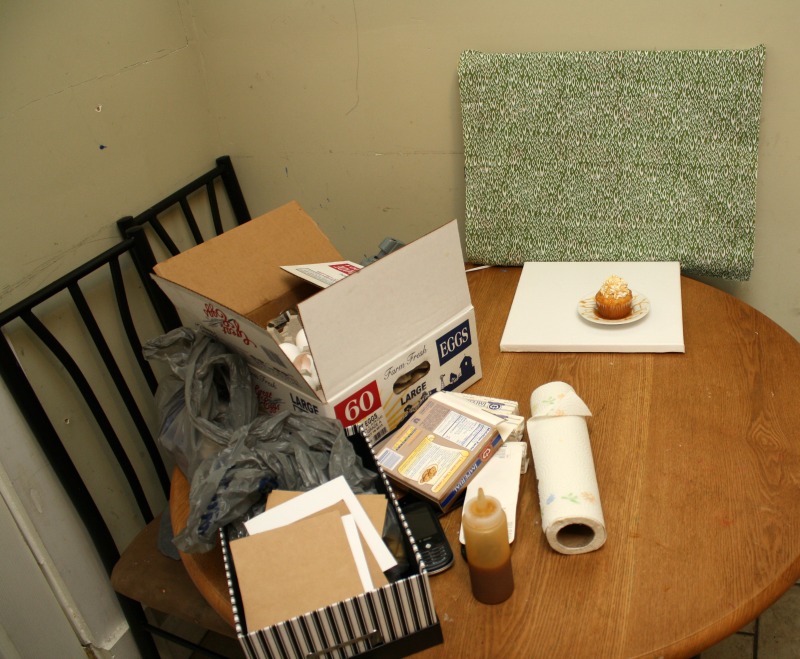
If you look at my kitchen right now, it’s a wreck. I’m baking, taking photos, blogging… doing everything at once, as usual. But, nobody has to know that (unless I tell them.. woops).
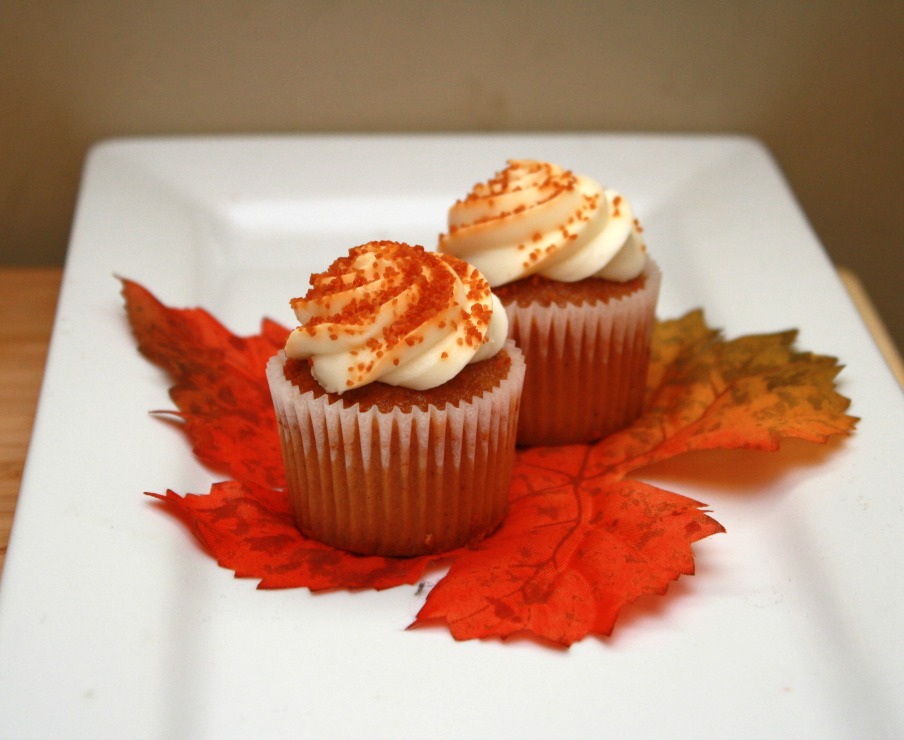
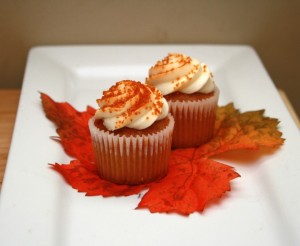
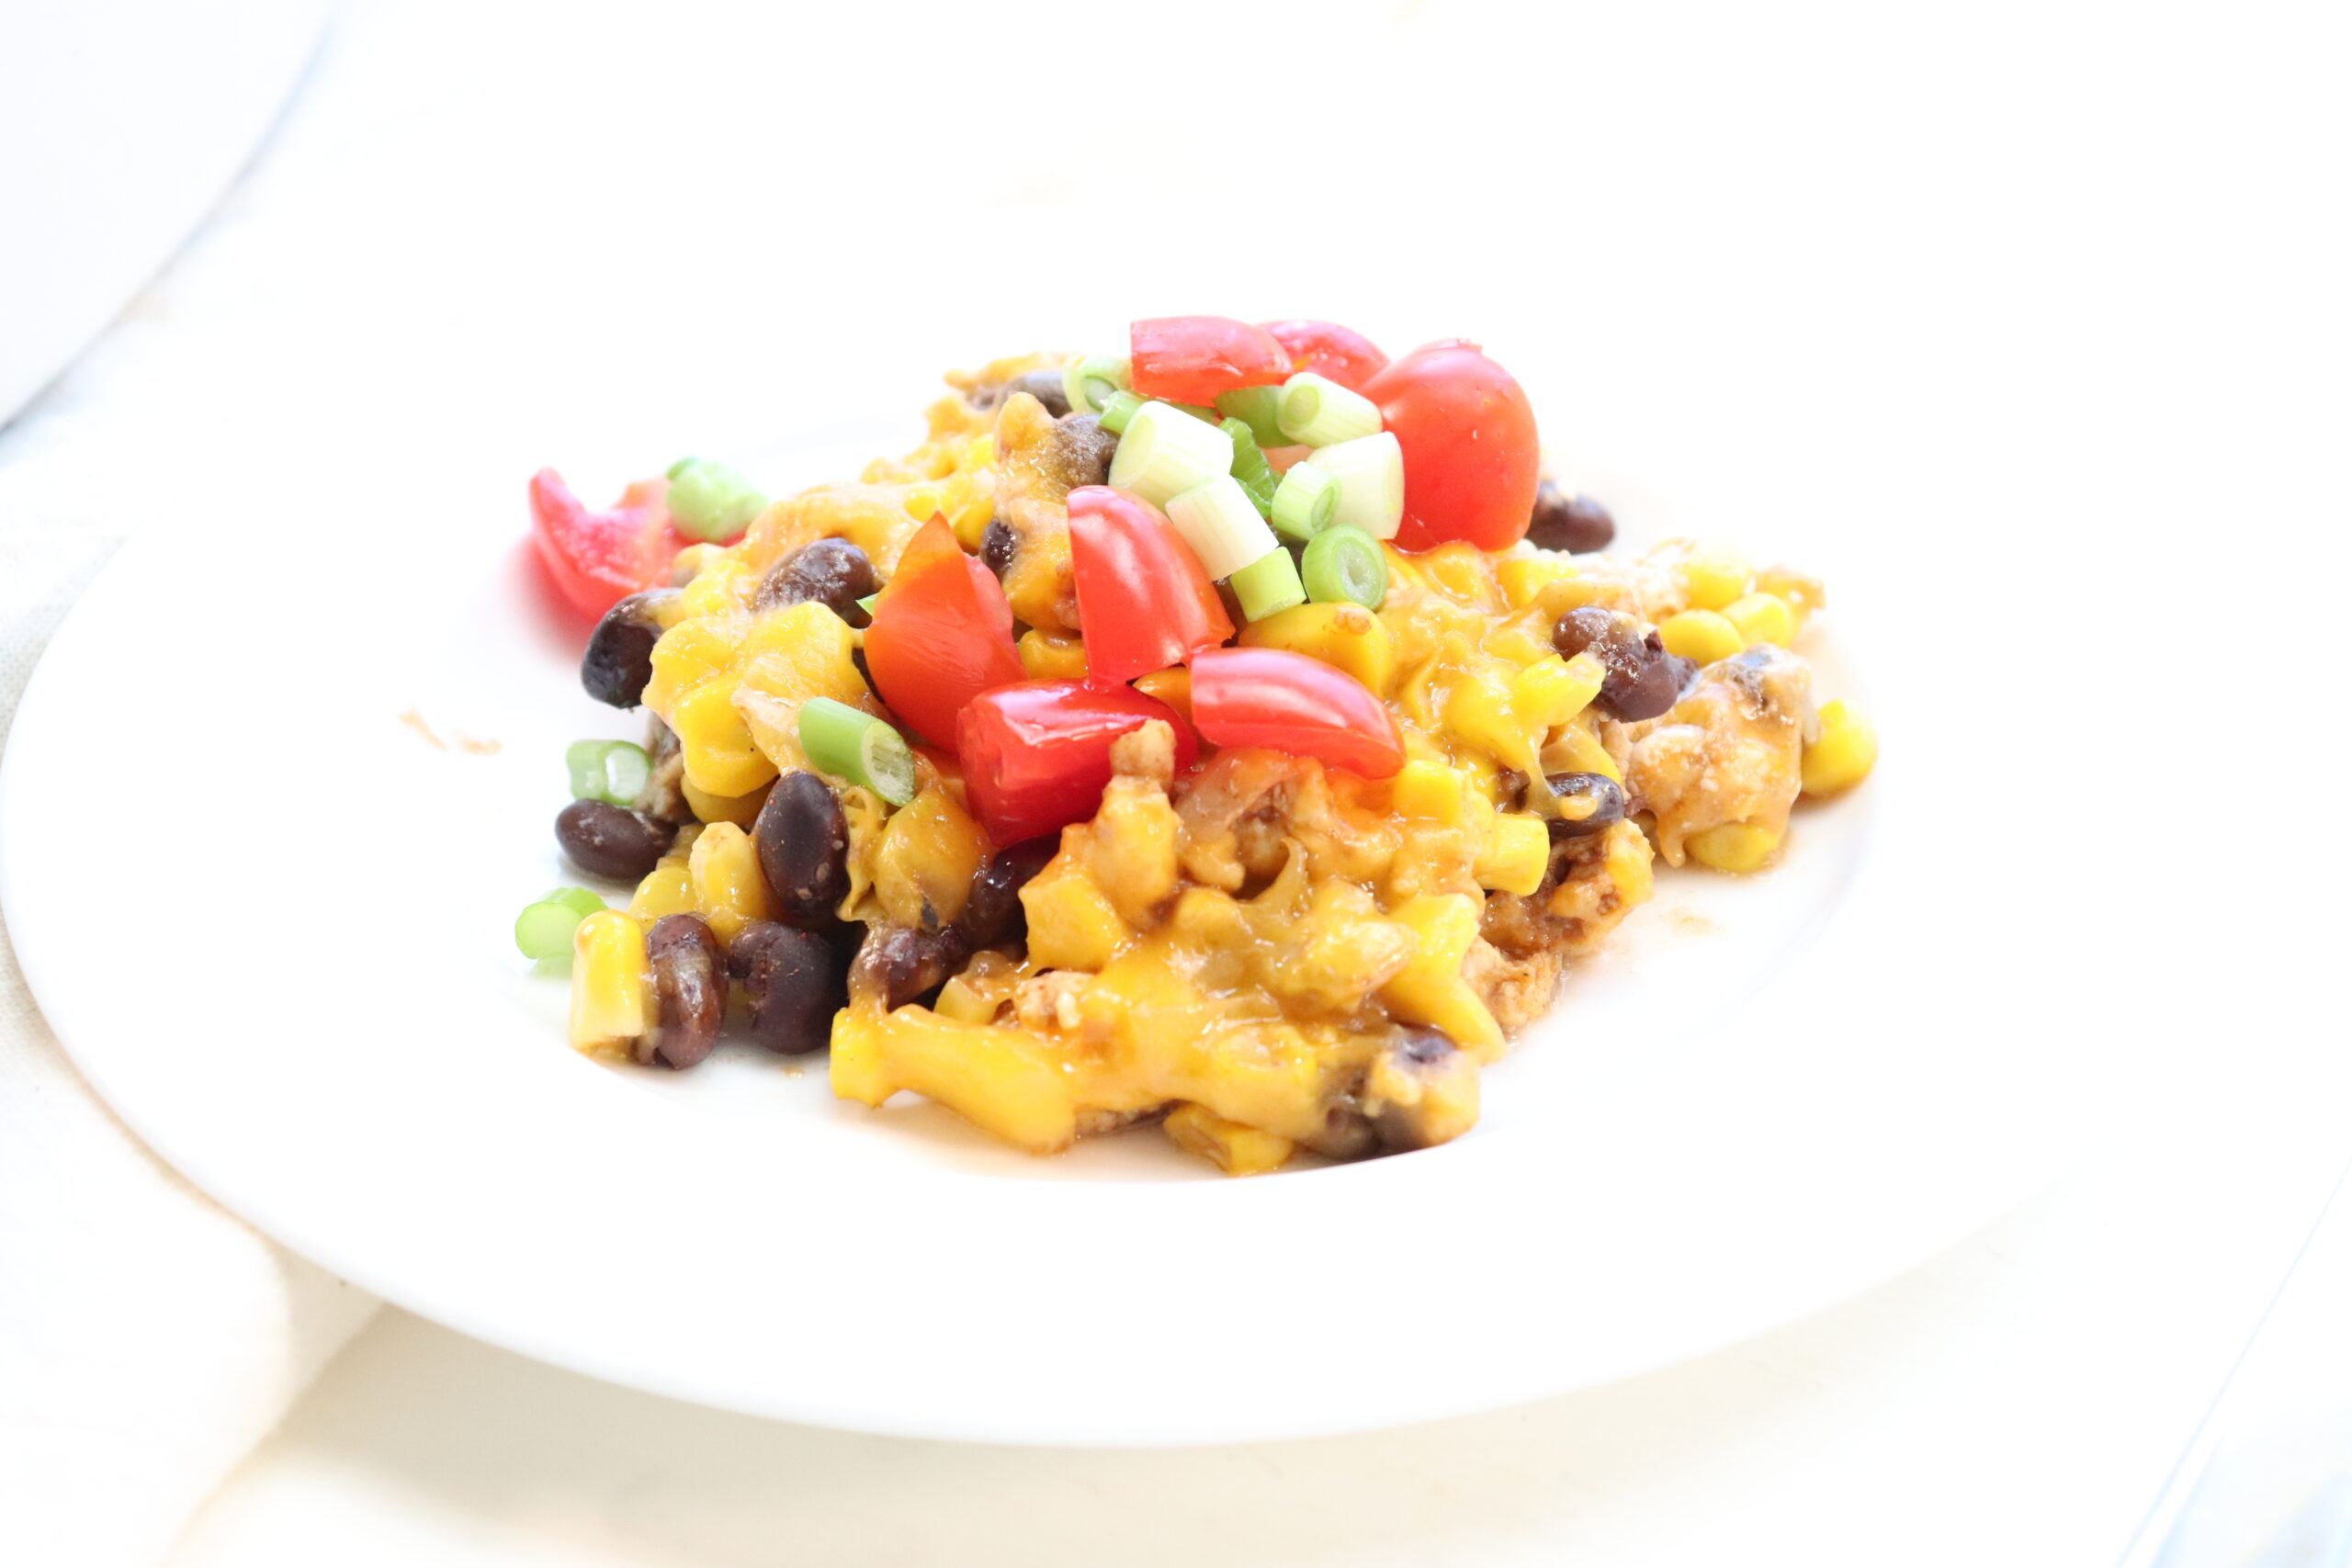
I just used a plate and a leaf to dress this one up.

Scrapbook paper — you could even take some book pages and glue them together onto a canvas to make a nice backdrop.
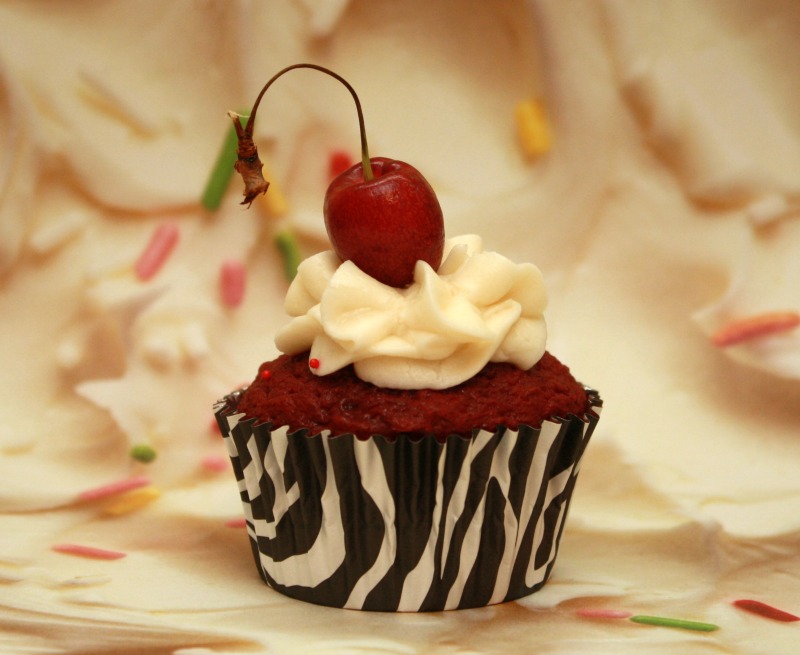
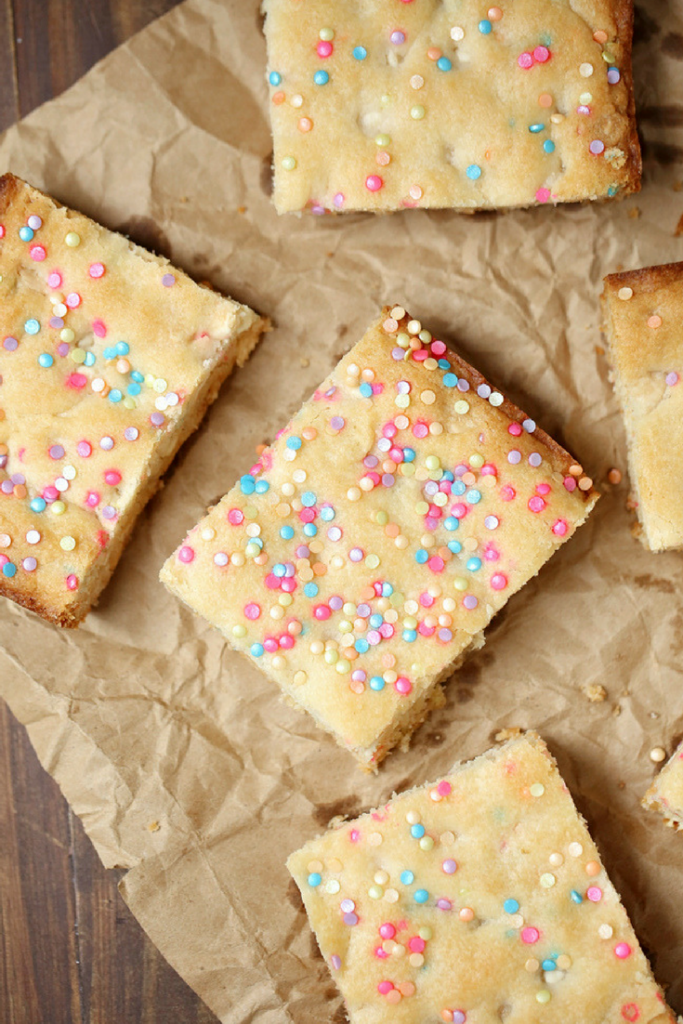
This is one of my favorite scrapbook papers! Frosting and sprinkles! I bought it in a pack at Walmart.

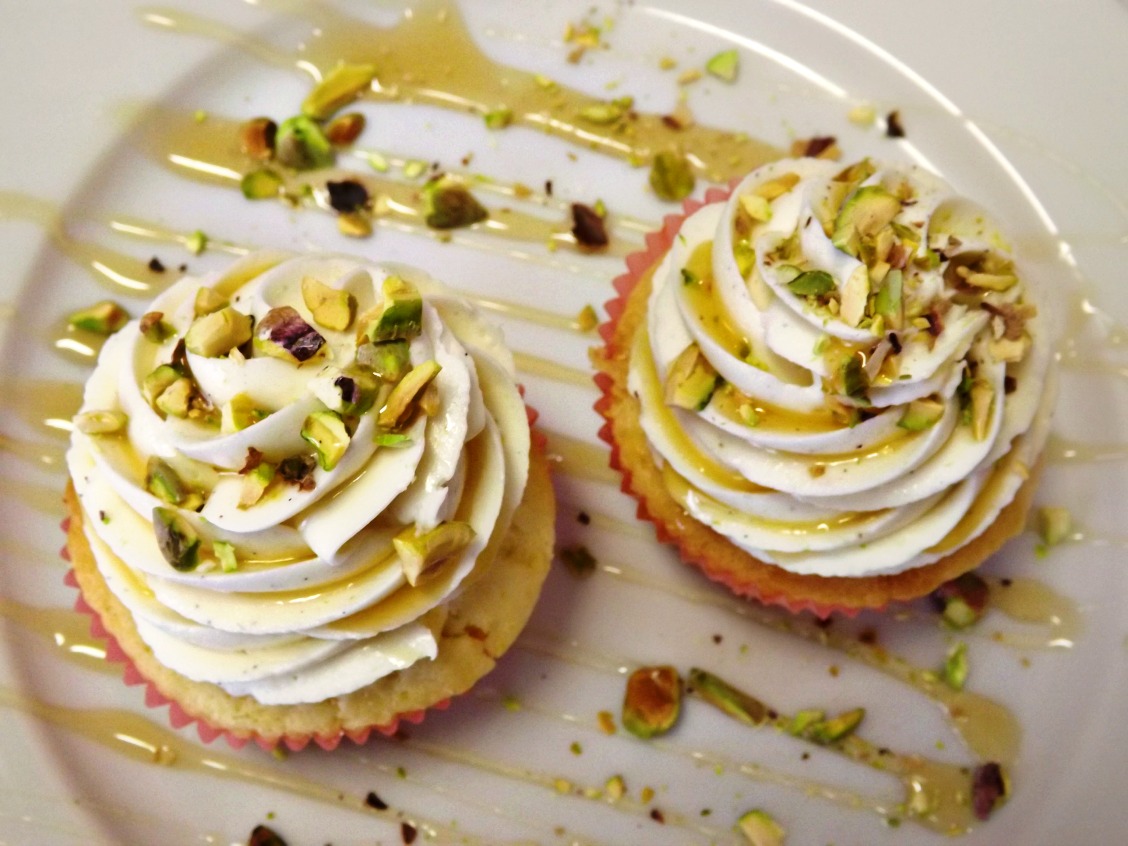
You remember my On Top of Ole Cupcake recipe, right? Yep.. you guessed it, scrapbook paper!
How to Make a Photo Backdrop
Materials
- blank canvas size doesn’t matter as long as it’s 12×12 or larger
- fabric enough to cover the front of the canvas, times however many you want to make
- hot glue & hot glue gun
- scrapbooking paper optional
Instructions
- Cut your fabric to fit around the front of the canvas. I bought each piece of fabric for $.97 at Walmart, and it measured 18×21 I believe. It covered the canvas, and then some.

- If you’re making ONE backdrop, place dots around the entire canvas, one small section at a time (it dries quickly), and attach the fabric.
- If you want to make SEVERAL backrops on one canvas, just place the glue dots on the top of the canvas. You can then flip through the fabrics and take photos on different backdrops with ease!
- Set the canvas down outside if you can. Natural lighting is best! I took photos inside today because it’s raining. See how this looks? Kinda crazy. But wait…

- Get up close, crop it a little, dress it up in PicMonkey, and you have a decent photo – ready for your blog!

- I usually airbrush the background a bit to make it blend in.

- I just used a plate and a leaf to dress this one up.

- Scrapbook paper — you could even take some book pages and glue them together onto a canvas to make a nice backdrop.

If you were wondering how to make a photo backdrop, I hope this short tutorial helped!
Like it? PIN IT!











Leave a Reply