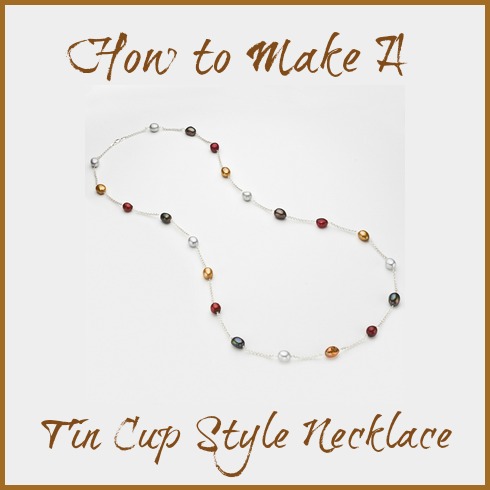
How To Make A Simple Tin Cup Style Beaded Necklace
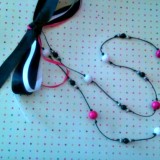
A tin cup styled necklace is an elegant design with beads spaced out on a strand. This is a fun tutorial to showing you how to make a simple tin cup design beaded necklace. The possibilities with this type of necklace truly are endless!
Simple Tin Cup Style Beaded Necklace
Materials:
- Waxed Linen Cord (black)
- Beads (choose your own for your design). The hole in the bead must not be too thin. If it is, you may need to get a bead reamer to file the hole a bit larger.
- 1/4″ to 1/2″ width Ribbon (matching your beads) Several ribbons are optional depending on your preference.
- Super Glue
- Scissors
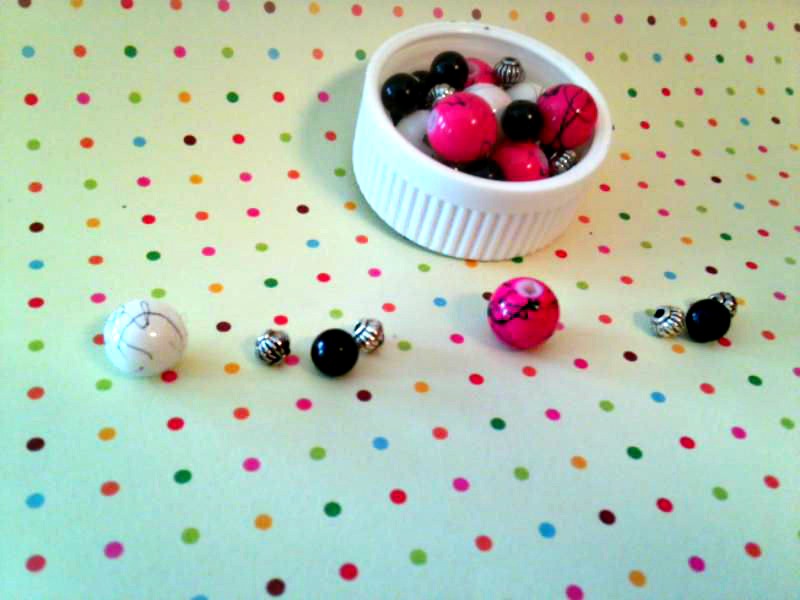
1. Cut your waxed linen cord to at least 30″ to 40″. If you wish to make it shorter for a child, around 20″ will do fine. The length depends on how long you want the necklace to be and considers the knotting you will be doing, which will shorten the strand as you work on the tin cup style beaded necklace.
2. Plan and arrange beads in an order that you desire. Keep in mind that this design will repeat throughout your necklace for consistency.
Note: Because the hole in the bead may not be as large as you like, you may need to take a bead reamer too it. It is important to not choose beads with tiny holes.
Second Note: As for beads that have very large holes, you may want to put spacer beads that have a smaller whole so that your bead will stay where you want.
3. Double knot the first knot about 3 to 4 inches into the waxed linen cord.
4. Slip your bead on and double knot after it. Keep the knot as close to the bead as possible. You need to double knot to keep the bead from sliding out of place.
5. Each bead or bead sequence you do, put 1/2 an inch to 1 inch in between. You must double knot. Note: A bead sequence is a couple beads together. Some can be close together and individually knotted or bunched together and knotted at each end of the sequence.
6. Keep beading and knotting until you are 3 to 4 inches from the end of the waxed linen cord.
7. Tied the ends of the waxed linen cord together. Leave at least an inch to an inch and a half of cord.
8. Take your ribbon, and find the center of it. Super Glue the center to the knot you tied both ends of the waxed linen cord. Let it dry.
9. Tie the waxed linen cord around the ribbon once, but knot it a few times.
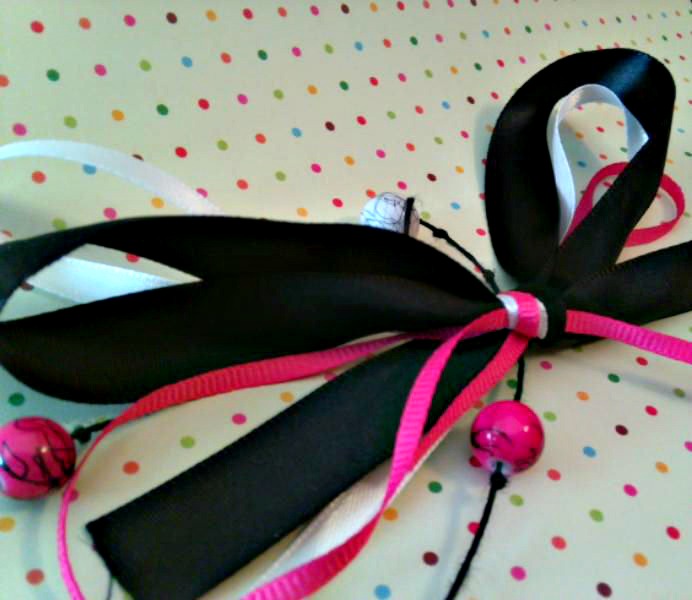
10. (Optional) Make a simple bow, much like tying shoe laces. Knot it a second time and place Super Glue under the bow, right on top of where you tied the waxed linen cord. Super Glue right under the second knot in the bow. Don’t over glue it!
11. Cut the ends of the bow and lightly Super Glue so they do not fray. Cut some of the excess linen cord if there is a little more than extra.
Once it is dry, it is ready to wear. :)
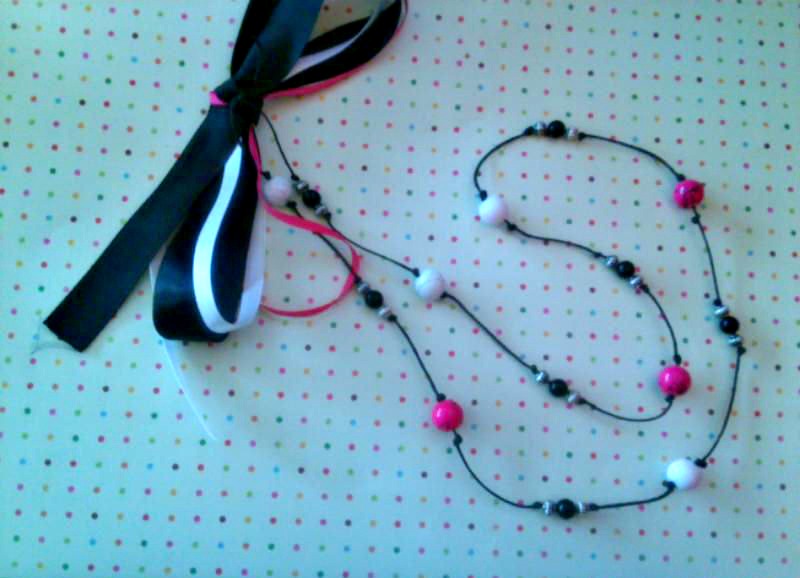
Simple Tin Cup Style Beaded Necklace
Materials
- Waxed Linen Cord black
- Beads Choose your own for your design. The hole in the bead must not be too thin. If it is, you may need to get a bead reamer to file the hole a bit larger.
- 1/4″ to 1/2″ width Ribbon matching your beads. Several ribbons are optional depending on your preference.
- Super Glue
- Scissors
Instructions
- Cut your waxed linen cord to at least 30″ to 40″. If you wish to make it shorter for a child, around 20″ will do fine. The length depends on how long you want the necklace to be and considers the knotting you will be doing, which will shorten the strand as you work on the tin cup style beaded necklace.
- Plan and arrange beads in an order that you desire. Keep in mind that this design will repeat throughout your necklace for consistency.Note: Because the hole in the bead may not be as large as you like, you may need to take a bead reamer too it. It is important to not choose beads with tiny holes.Second Note: As for beads that have very large holes, you may want to put spacer beads that have a smaller whole so that your bead will stay where you want.
- Double knot the first knot about 3 to 4 inches into the waxed linen cord.
- Slip your bead on and double knot after it. Keep the knot as close to the bead as possible. You need to double knot to keep the bead from sliding out of place.
- Each bead or bead sequence you do, put 1/2 an inch to 1 inch in between. You must double knot. Note: A bead sequence is a couple beads together. Some can be close together and individually knotted or bunched together and knotted at each end of the sequence.
- Keep beading and knotting until you are 3 to 4 inches from the end of the waxed linen cord.
- Tied the ends of the waxed linen cord together. Leave at least an inch to an inch and a half of cord.
- Take your ribbon, and find the center of it. Super Glue the center to the knot you tied both ends of the waxed linen cord. Let it dry.
- Tie the waxed linen cord around the ribbon once, but knot it a few times.
- (Optional) Make a simple bow, much like tying shoe laces. Knot it a second time and place Super Glue under the bow, right on top of where you tied the waxed linen cord. Super Glue right under the second knot in the bow. Don't over glue it!
- Cut the ends of the bow and lightly Super Glue so they do not fray. Cut some of the excess linen cord if there is a little more than extra.







Leave a Reply