These DIY Halloween Dolls are a fun dollar store craft for kids and grown ups alike! Be sure to supervise (especially while using acetone and sharpies!)
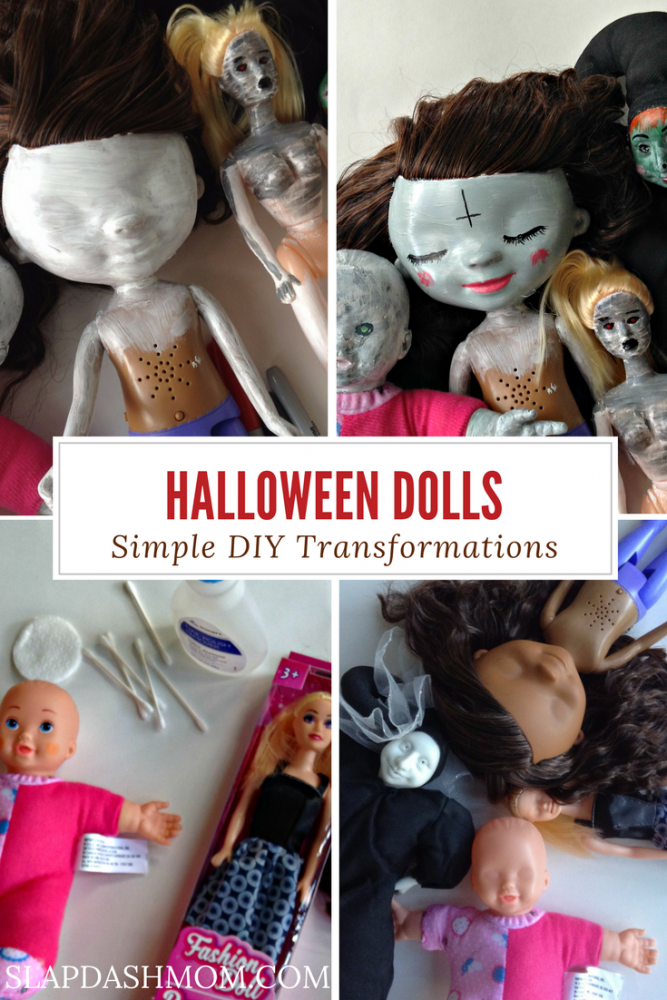
SUPPLIES for DIY HALLOWEEN DOLLS
Dolls
Acetone
Acrylic paints
Small paint brushes
Black Tape
Sharpie Markers
Ribbon
felt
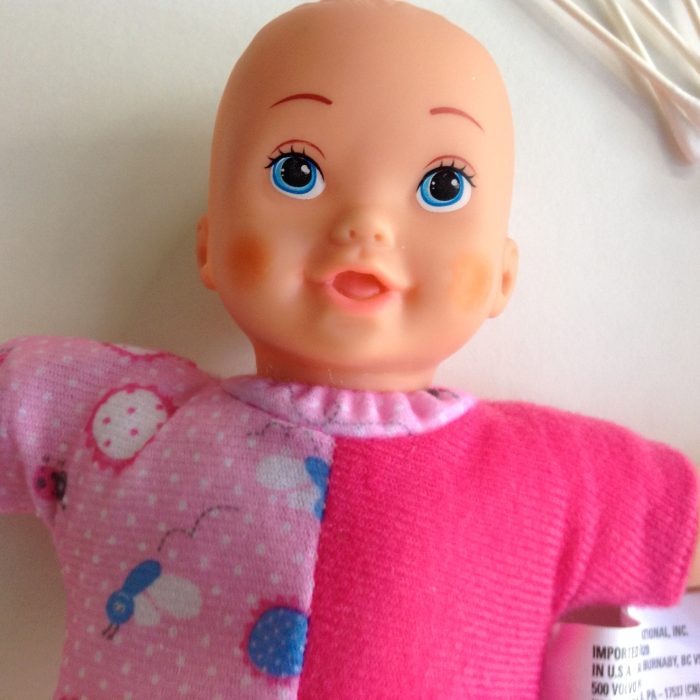
CHOOSE YOUR DOLLS
Scour thrift shops, your kids underused toys, the Dollar Store, and yard sales to find dolls in need of a
make-over. Our Goodwill has 50% off every other Saturday, so we stocked up on old dolls for less than a buck a piece!
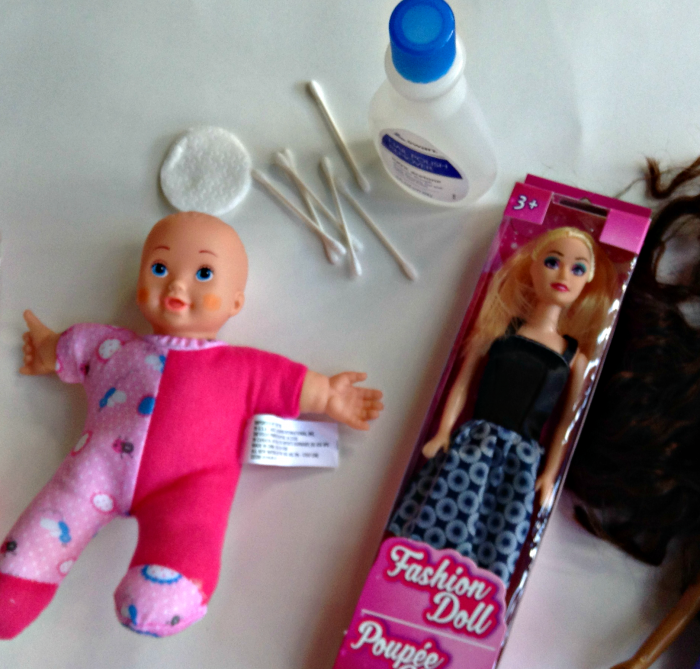
CLEAN DOLLS
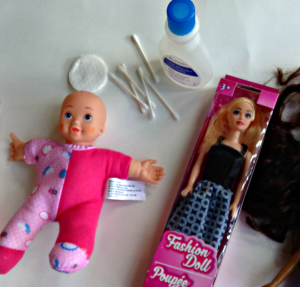
Use plain acetone (nail polish remover) and cotton balls to remove all makeup from dolls’ faces. Rinse with clean water, and dry.
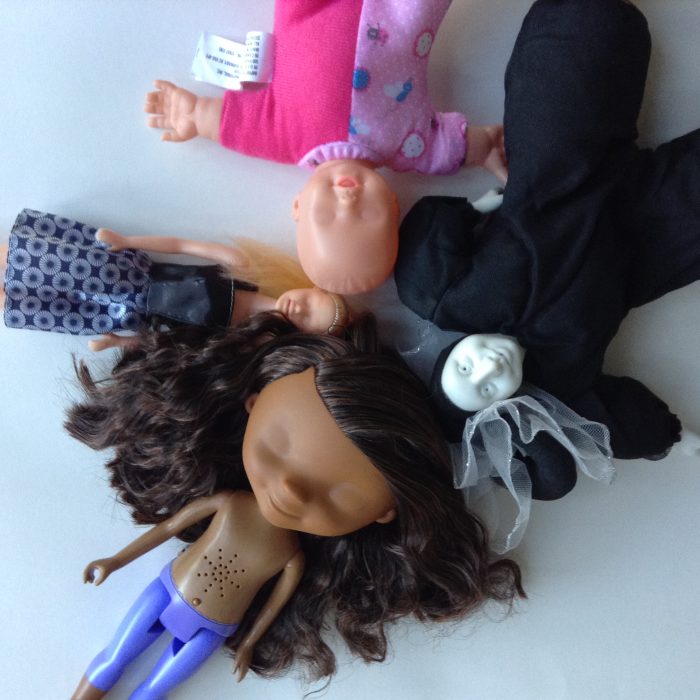
TRANSFORMING YOUR DOLLS
Start by applying a coat of white acrylic paint to the doll’s face (and any other part that will show). This provides a clean base and allows your chosen colors to be consistent. Allow to dry.
MUMMY
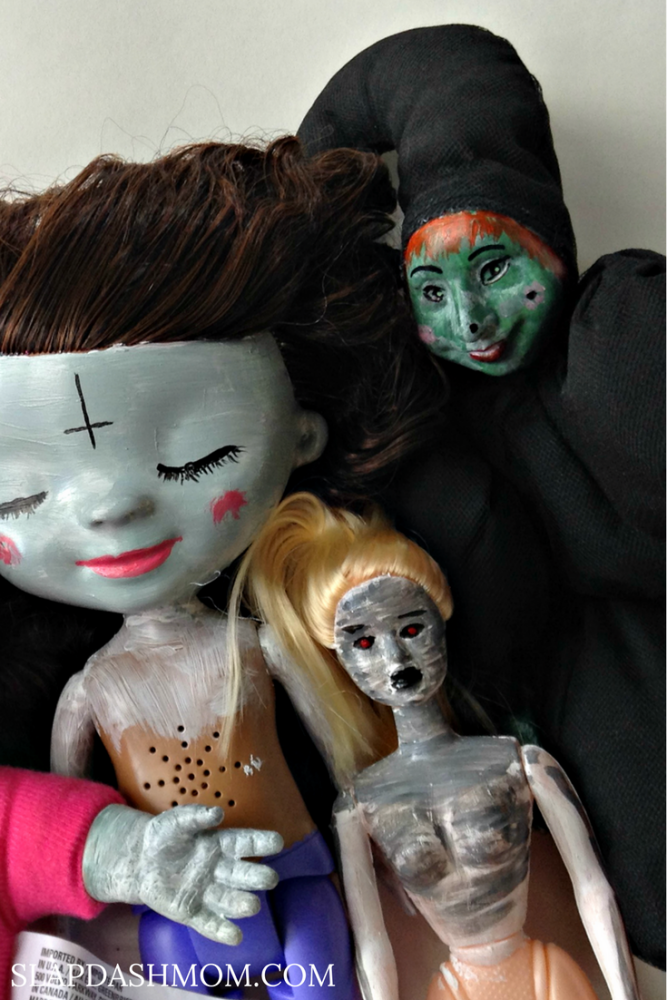
The mummy is made with a Barbie-esque doll. Only her face will show, and that will be minimal so only the face will need to be painted. Use black paint and a very small brush to make her face streaky as this will show through the bandages and appear mottled (like any good mummy). Add some lip color and creepy red eyes. Allow to dry completely.
When dry, wrap doll in gauze to finish the mummy look.
BABY
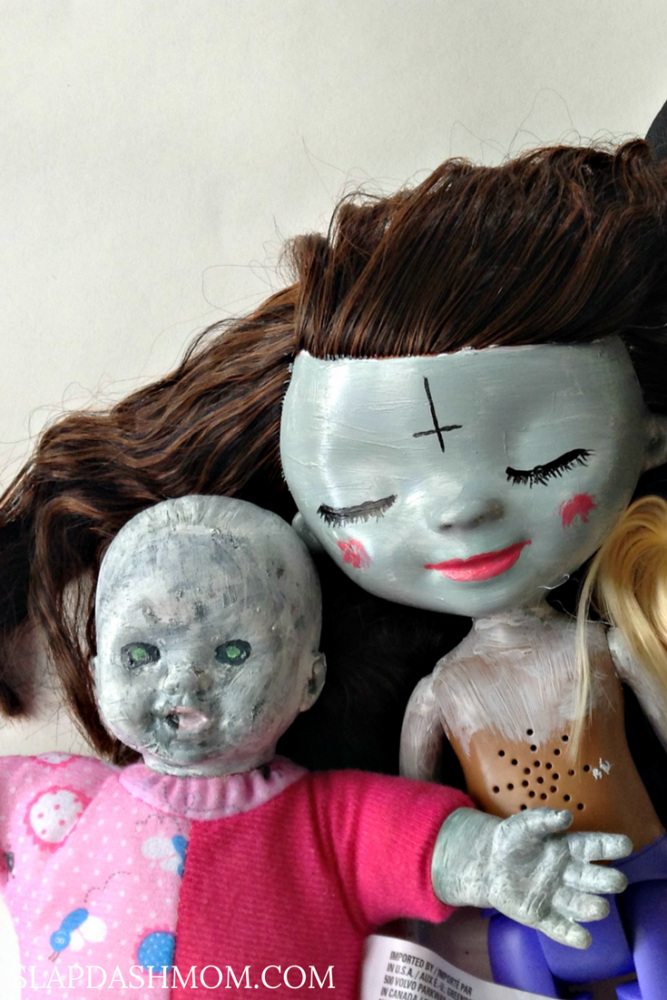
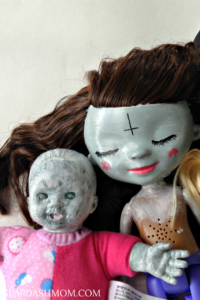
This baby doll is a Dollar Store find. Paint her face and hands a greenish gray color all over. Before the paint is completely dry, paint over top with white paint and dab with a soft cloth. This gives her the undead quality that we’re looking for. When she has dried completely, add black eye sockets and green pupils. You can distress her onesie with red paint to heighten her creepy look.
WITCH
This witch started her life as a Pierrot doll (creepy enough in my opinion). Paint her face and hands a witchy green and, using the same method as with the baby, add some white to increase texture to her face, dabbing off excess so the look is still green and witchy.
Her Pierrot hat was transformed to a tall witch’s hat by wrapping with Gorilla Tape, and straightening the hat as you wrap until you are satisfied with the look. For the hat brim, fold a piece of tape together with sticky sides in and use additional tape to attach to hat. Paint her shoes and legs black.
DEAD DOLL
This doll is a “sleeping” beauty! Her face should be painted a medium grey. Once dry, add pink cheeks and lips. Paint along the bottom of the indented space where her eyes used to be, and add lashes. An upside down cross completes her paint job.
She should be dressed in a pretty dress. If you don’t have an appropriate dress, you can fashion one by using adhesive backed felt and stick it to her body. Add a pretty bow around her waist and a matching one for her hair.
She looks so peaceful…
TIP: After the base color for the face is finished, you can use Sharpie markers for details if you
don’t have a tiny brush, or just feel more comfortable with a marker.
DIY Halloween Dolls
Materials
- Dolls
- Acetone
- Acrylic paints
- Small paint brushes
- Black Tape
- Sharpie Markers
- Ribbon
- felt
Instructions
- CHOOSE YOUR DOLLS: Scour thrift shops, your kids underused toys, the Dollar Store, and yard sales to find dolls in need of a make-over. Our Goodwill has 50% off every other Saturday, so we stocked up on old dolls for less than a buck a piece!

- CLEAN DOLLS: Use plain acetone (nail polish remover) and cotton balls to remove all makeup from dolls’ faces. Rinse with clean water, and dry.

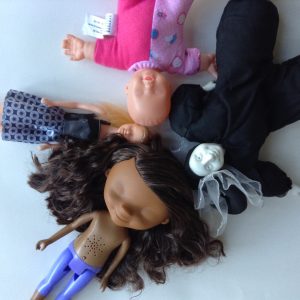
- TRANSFORMING YOUR DOLLS: Start by applying a coat of white acrylic paint to the doll's face (and any other part that will show). This provides a clean base and allows your chosen colors to be consistent. Allow to dry.


DOLL IDEAS
- MUMMY: The mummy is made with a Barbie-esque doll. Only her face will show, and that will be minimal so only the face will need to be painted. Use black paint and a very small brush to make her face streaky as this will show through the bandages and appear mottled (like any good mummy). Add some lip color and creepy red eyes. Allow to dry completely. When dry, wrap doll in gauze to finish the mummy look.

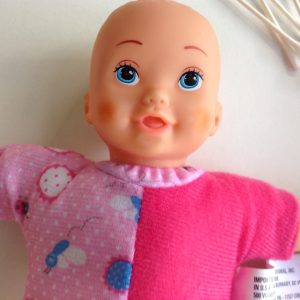
- BABY: This baby doll is a Dollar Store find. Paint her face and hands a greenish gray color all over. Before the paint is completely dry, paint over top with white paint and dab with a soft cloth. This gives her the undead quality that we’re looking for. When she has dried completely, add black eye sockets and green pupils. You can distress her onesie with red paint to heighten her creepy look.


- WITCH: This witch started her life as a Pierrot doll (creepy enough in my opinion). Paint her face and hands a witchy green and, using the same method as with the baby, add some white to increase texture to her face, dabbing off excess so the look is still green and witchy. Her Pierrot hat was transformed to a tall witch’s hat by wrapping with Gorilla Tape, and straightening the hat as you wrap until you are satisfied with the look. For the hat brim, fold a piece of tape together with sticky sides in and use additional tape to attach to hat. Paint her shoes and legs black.

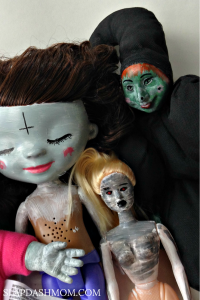
- DEAD DOLL: This doll is a “sleeping” beauty! Her face should be painted a medium grey. Once dry, add pink cheeks and lips. Paint along the bottom of the indented space where her eyes used to be, and add lashes. An upside down cross completes her paint job. She should be dressed in a pretty dress. If you don’t have an appropriate dress, you can fashion one by using adhesive backed felt and stick it to her body. Add a pretty bow around her waist and a matching one for her hair. She looks so peaceful…







Leave a Reply