Creating a unique piece of jewelry for Mother’s Day, or any day really, can be difficult. You’ve celebrated several holidays with your mom, hopefully, so you’ve given her lots of gifts! Coming up with one she hasn’t seen yet… well, you may be left racking your brain a bit. Create this DIY Bird Nest Necklace with me and you’ll have no worries!
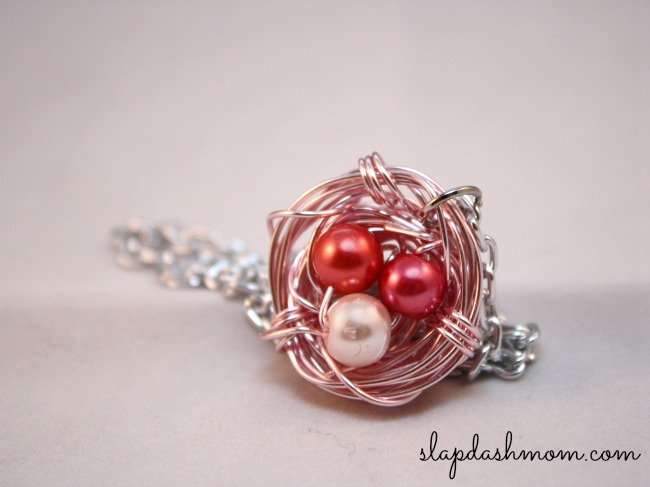
Very rarely do I have time to really read blogs, but this week I found a new blog I’m now obsessed with: SarahOrtega.com. Her DIY Bird Nest Necklace tutorial had beautiful photos, but the instructions left me feeling a bit lost. Making your own DIY Bird Nest Necklace is easy, so if you feel confused just grab your supplies and try it… you won’t be disappointed!
DIY Bird Nest Necklace Tutorial
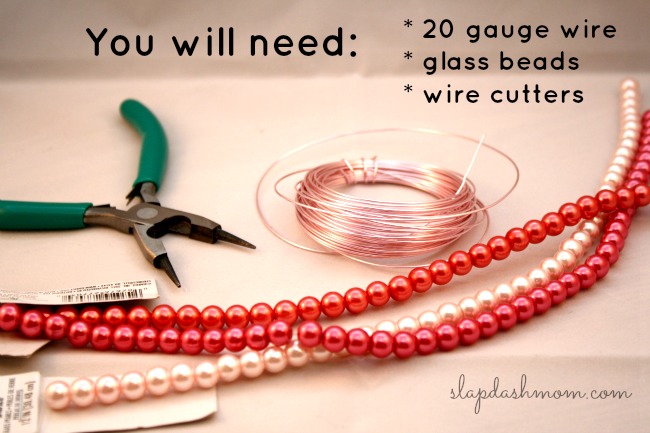
You’ll need:
– 20 or 24 gauge wire (24 is easier to work with)
– wire cutters
– a few beads
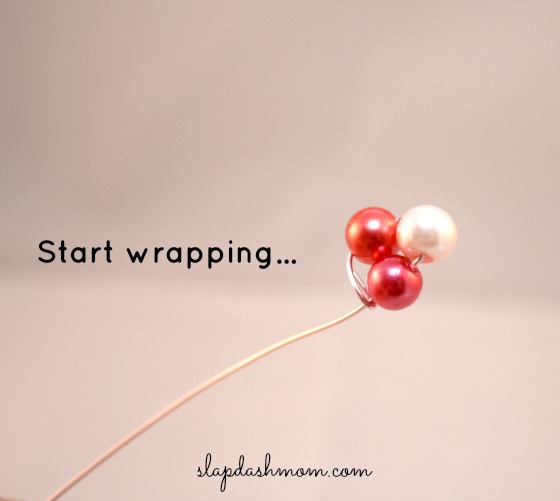
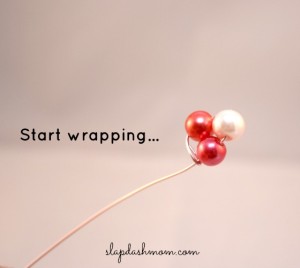
Be sure that your wire is small enough to thread through the beads. Start wrapping.
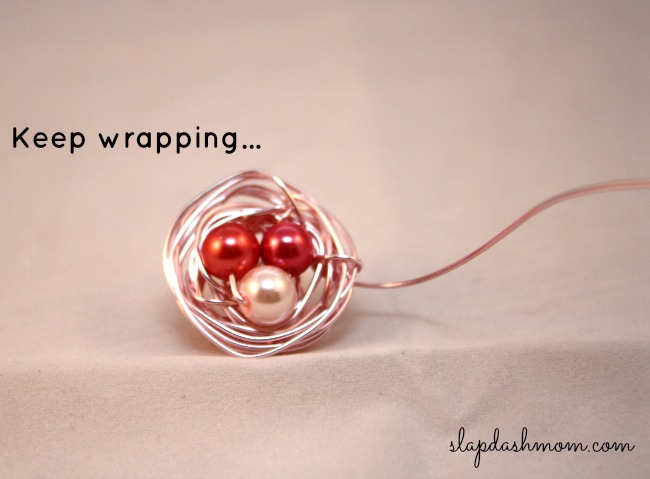
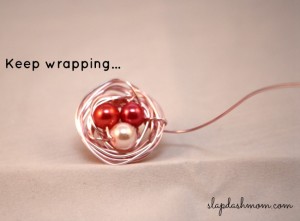
Yep, keep wrapping… it’ll take a while. Try not to wrap too tightly. Think about how bird’s eggs just sit in the nest. When you have the nest the way you like it, wrap the wire around the entire thing 9 times – 3 times, then move over a bit and do 3 more. Move over a bit more, and do 3 again. Look at the photos for details.
Attach a jump ring (optional) and chain for a necklace, and you’ve got a unique piece of jewelry handcrafted by you! I’m going to make these for Rachel’s mom, and will be including one bead for each kid in the color of their birthstone!
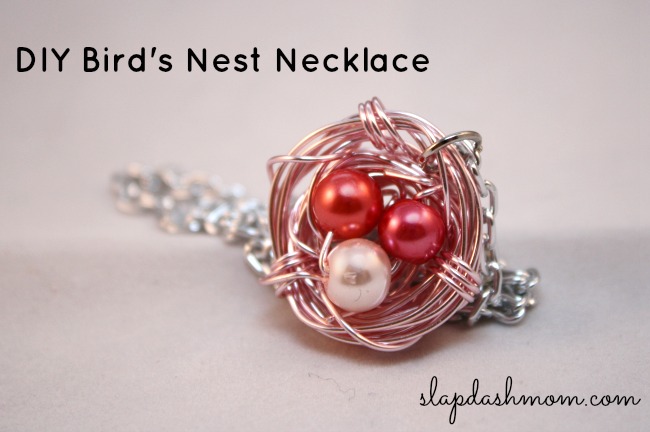
If you like it, be sure to pin it! :)
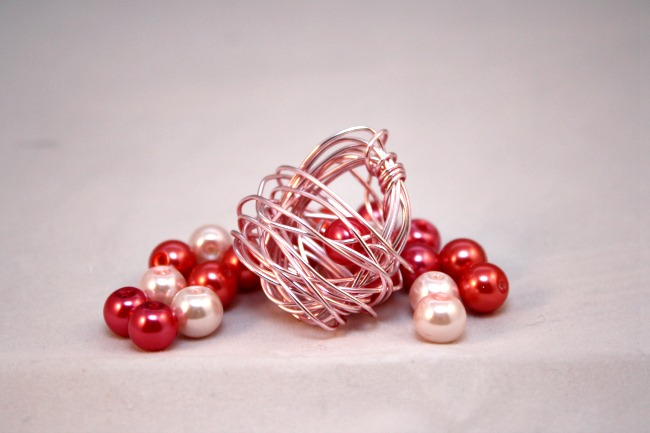
And have fun with the leftovers!
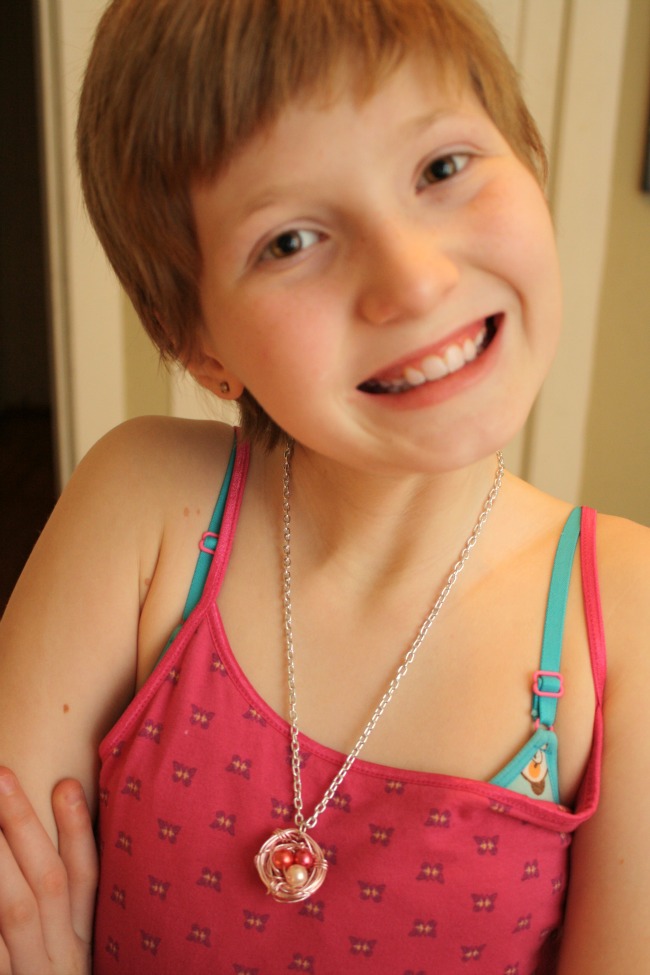
Wear it proudly! And don’t forget to…
PIN IT!
DIY Birds Nest Necklace Tutorial
Materials
- 20 or 24 gauge wire (24 is easier to work with)
- wire cutters
- a few beads
Instructions
- Be sure that your wire is small enough to thread through the beads. Start wrapping.

- Yep, keep wrapping… it'll take a while. Try not to wrap too tightly. Think about how bird's eggs just sit in the nest.

- When you have the nest the way you like it, wrap the wire around the entire thing 9 times – 3 times, then move over a bit and do 3 more. Move over a bit more, and do 3 again. Look at the photos for details.
- Attach a jump ring (optional) and chain for a necklace, and you’ve got a unique piece of jewelry handcrafted by you! I’m going to make these for Rachel’s mom, and will be including one bead for each kid in the color of their birthstone!








Leave a Reply