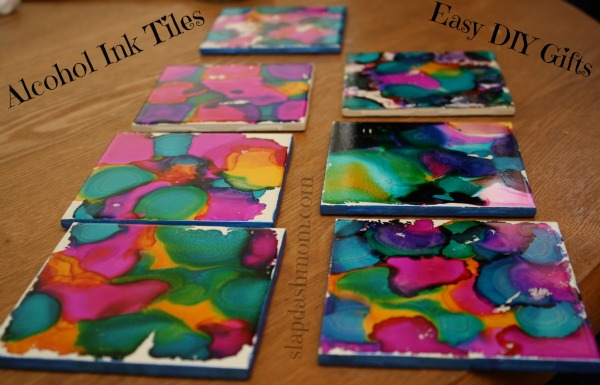
DIY Alcohol Ink Coasters {Tutorial}
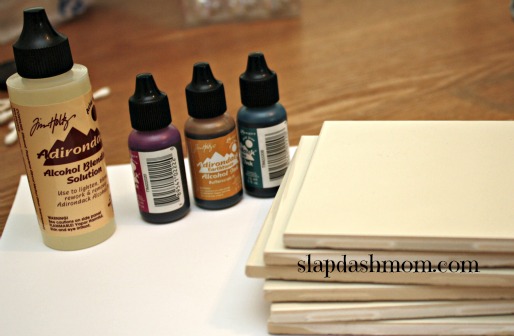
Gather your supplies. I used these alcohol inks, blending solution, cotton balls, and tiles (from Home Depot). Painting the edges are optional. I like them better without the edges painted, to be honest.
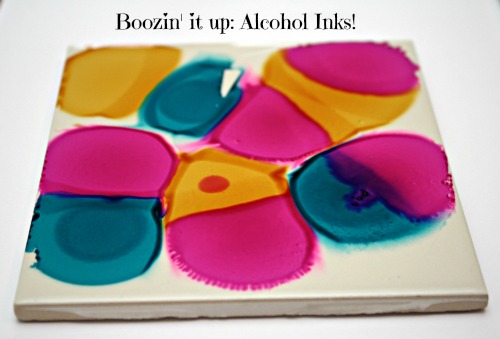
Cover the tile with alcohol blending solution. Then, start dripping the alcohol inks on to the tiles.
The key to working with alcohol inks is not to use too much! Just a few drops in each section of the tile will do the trick.
I think it’d be fun to swirl the colors together, maybe with a Q-Tip, but I didn’t try that with this project.
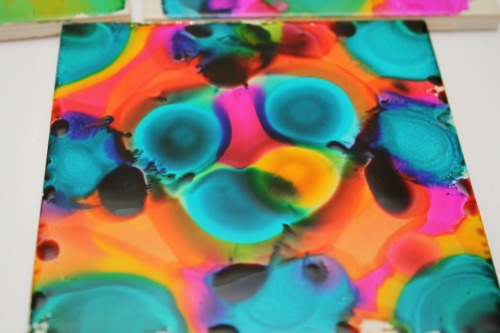
Allow the tiles to dry before painting the edges or wrapping up. Add felt pieces to the bottom (optional).
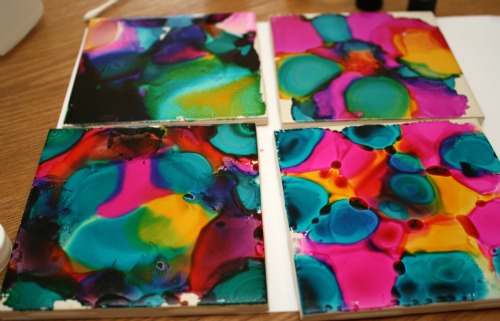
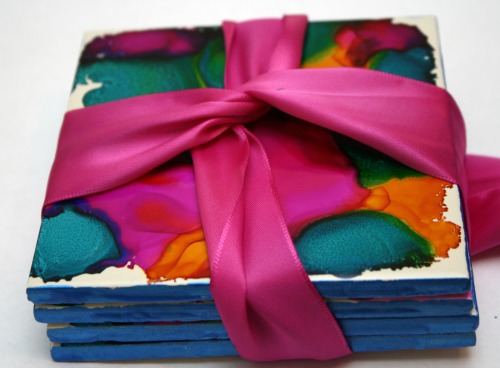
These were so fun to do, and I can’t wait to make them for Christmas gifts! DIY Alcohol ink coasters are inexpensive gifts for grandmas, moms, and even teachers!
DIY Alcohol Ink Coasters {Tutorial}
Materials
- alcohol inks
- blending solution
- cotton balls
- tiles
Instructions
- Gather your supplies. I used these alcohol inks, blending solution, cotton balls, and tiles (from Home Depot). Painting the edges are optional. I like them better without the edges painted, to be honest.
- Cover the tile with alcohol blending solution. Then, start dripping the alcohol inks on to the tiles.
- The key to working with alcohol inks is not to use too much! Just a few drops in each section of the tile will do the trick.
- I think it’d be fun to swirl the colors together, maybe with a Q-Tip, but I didn’t try that with this project.
- Allow the tiles to dry before painting the edges or wrapping up.
- Add felt pieces to the bottom (optional).




Leave a Reply