
Because of my slight purse addiction, I’m always looking for new ones. I bought one this weekend that is SUPER cute, and posted about it on my Facebook page. When I got home, though, I was inspired to make another. Because my boobs are way too big to use my own bra for this project, I headed to Goodwill to find the perfect bra to use to make my bra purse tutorial.
At the end of the tutorial, I included a photo of Rachel wearing one of the bras… which I think is quite adorable. ;)
DIY No Sew Bra Purse Tutorial
I love this bra purse project because it doesn’t require any sewing. You can sew if you’re a seamstress an overachiever or whatever, but it’s not required. ;) This type of purse is only to carry small stuff, like money, etc. Because you’re using hot glue to secure it together, you don’t want to weigh it down.
You’ll need:
— bra with underwire
— hot glue and hot glue gun
— scissors
Optional: ribbons, beads, buttons, or other embellishments

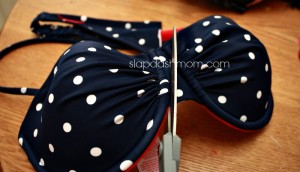
First, cut the bra up. Basically, you’re cutting the cups out. Cut close to the underwire, but don’t cut the fabric around the underwire open or it will end up poking out. Save the scraps for later.

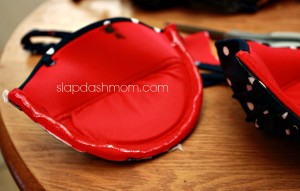
Use hot glue to attach the cups. If you use too much, it’ll ooze out the bottom – so be careful.
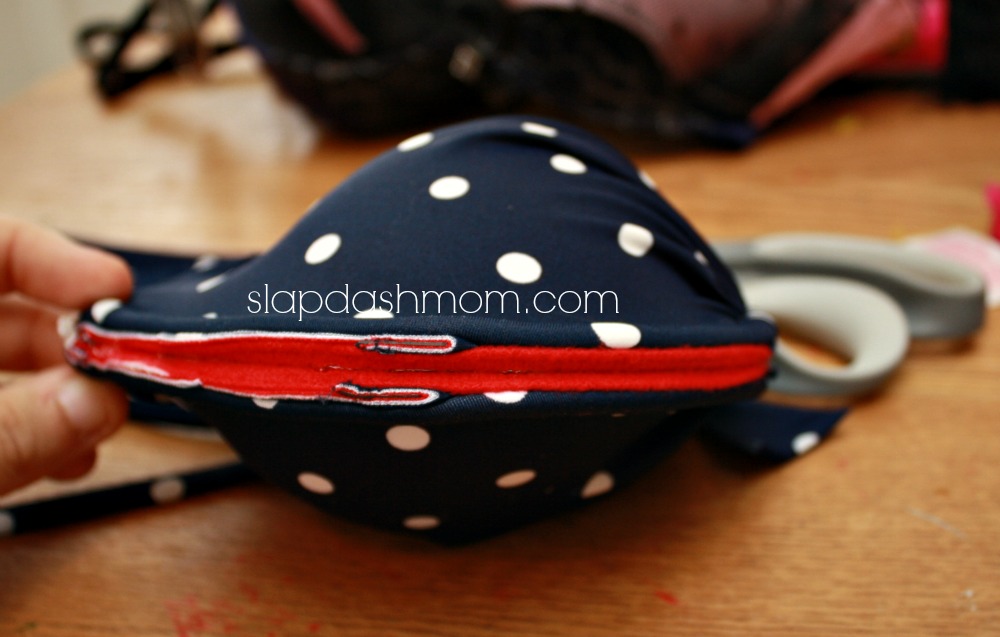
At this point, if you don’t like how the bottom of the purse looks, cover it with some ribbon, beads, or fringe.
Next, you’re going to add the straps. This bra only had one short strap (because it was a halter-style), so I made it like a little handbag instead of a purse with long straps. If your bra doesn’t have long enough straps, you can use yarn or ribbon to make them (or lengthen them).
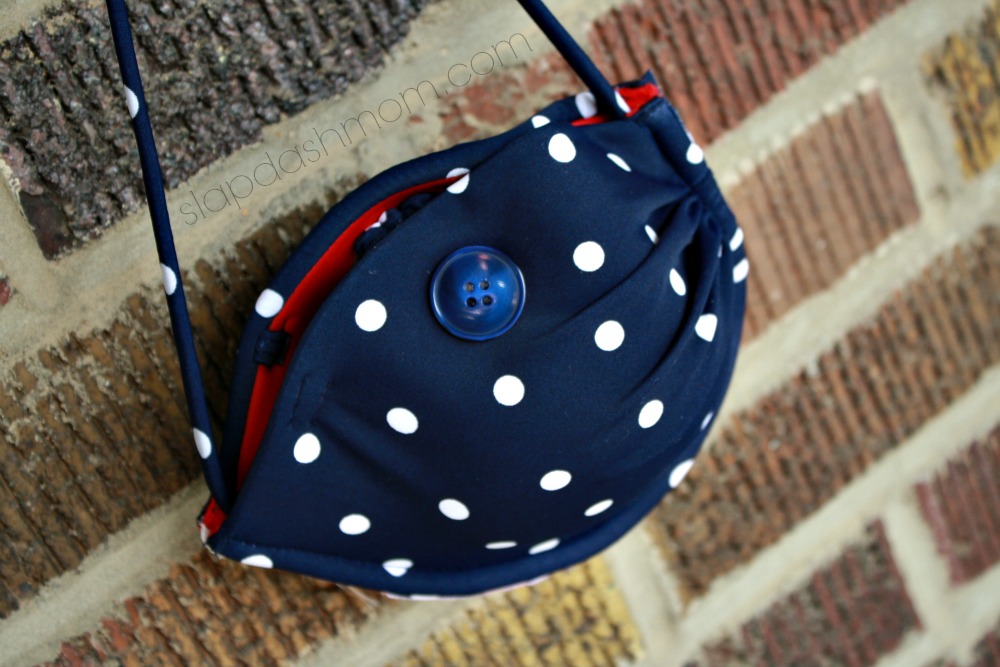
Add embellishments to the outside of your purse, if you’d like. I think buttons and beads are cute. You can sew them on, but hot glue should be fine.
It looks like this on the other side (without the button). You could put a button on each side and close it off with elastic.
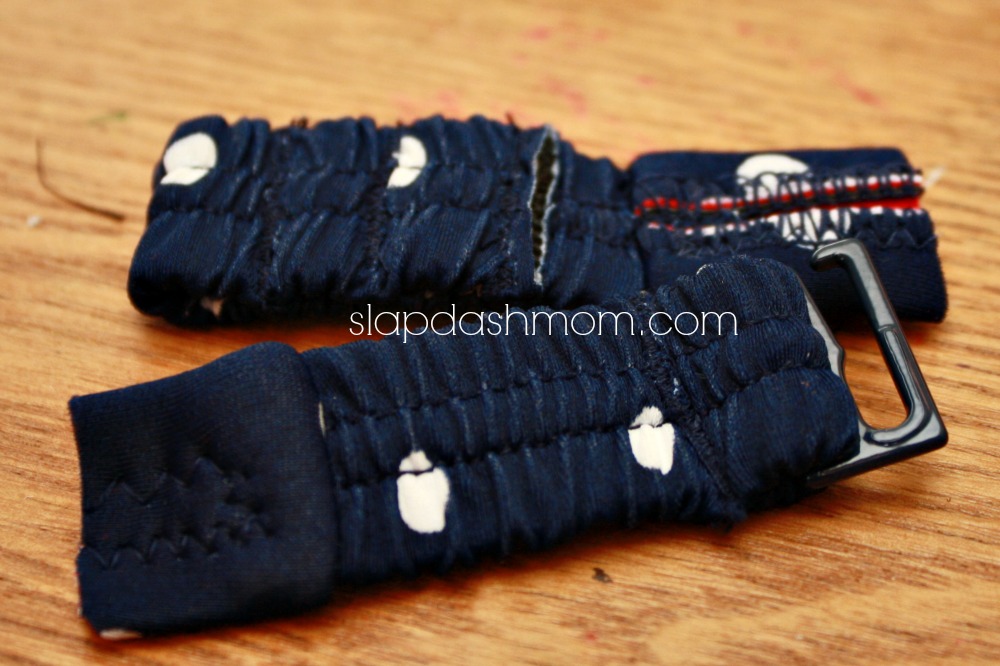
This is what the longer strapped bras look like. I cut the straps off of the bra, then cut the ends off and hot glued the straps together. It’s long enough that it could be worn on the shoulder or across the body.
Closing the purse
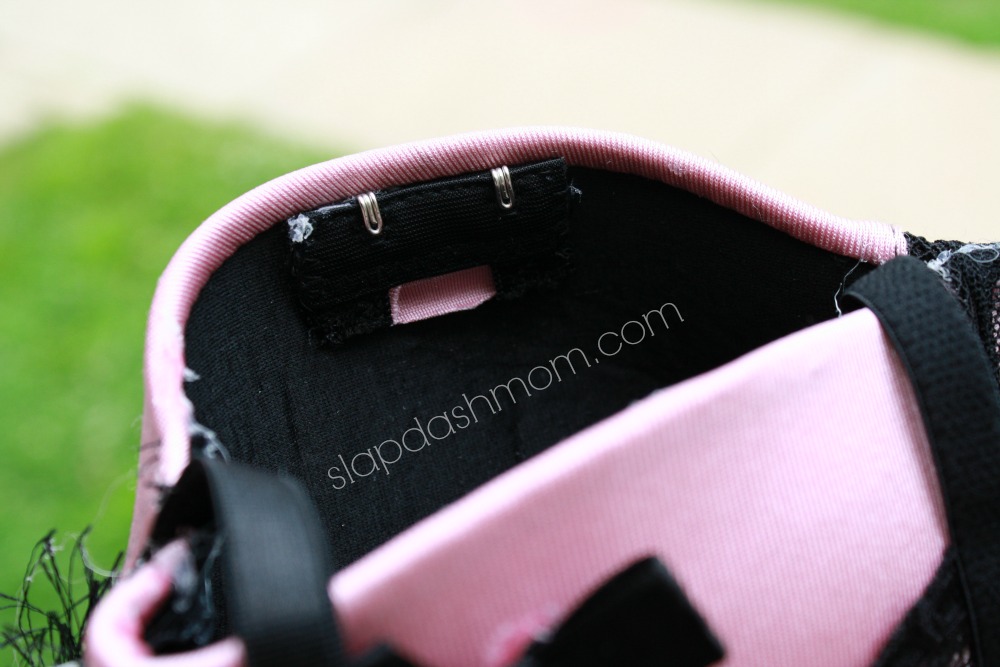
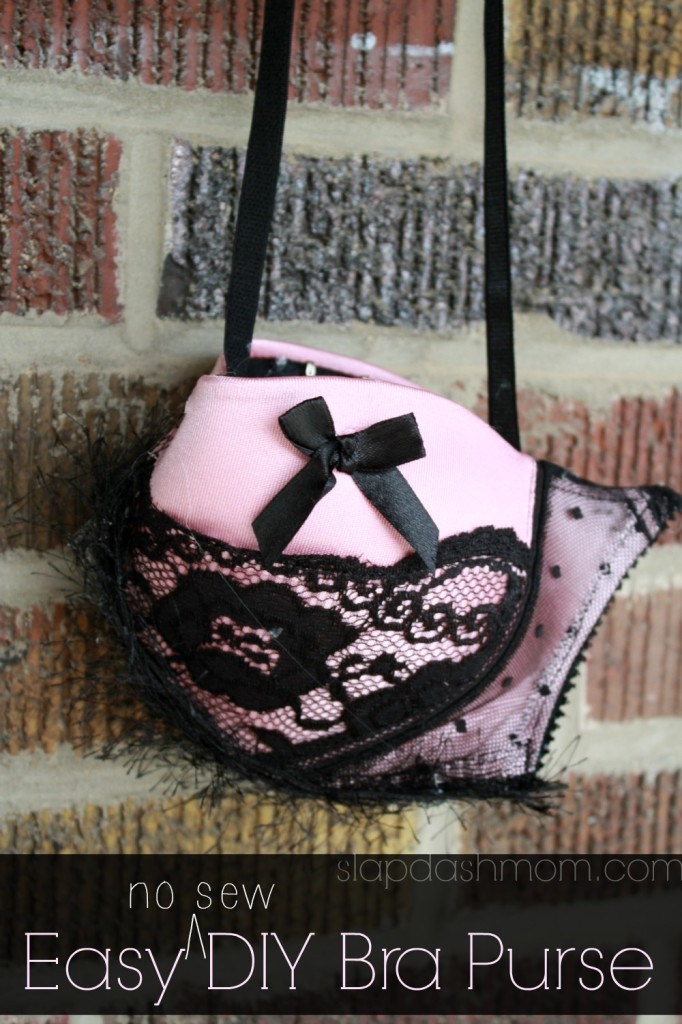
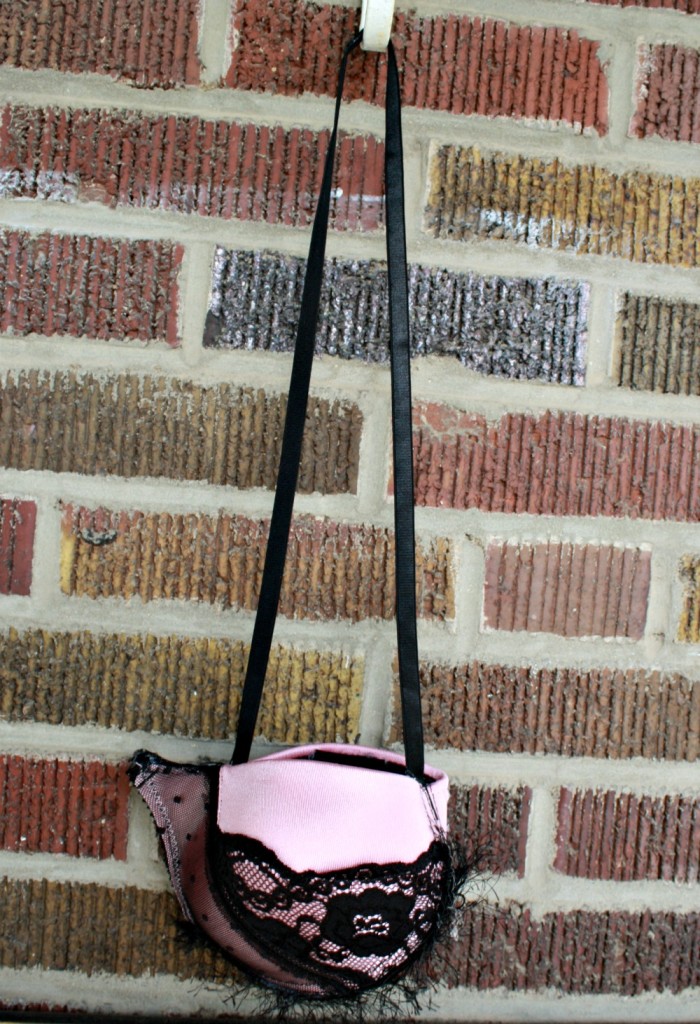
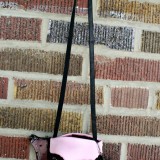
The type of bra you use will determine which type of closure you use. With the light pink and black bra purse, I used the regular bra closures.

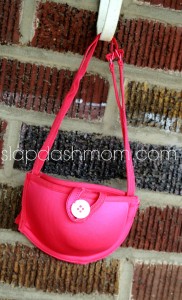
For this pink bra purse, I glued a button on and used some of the elastic left over to use it as a closure.
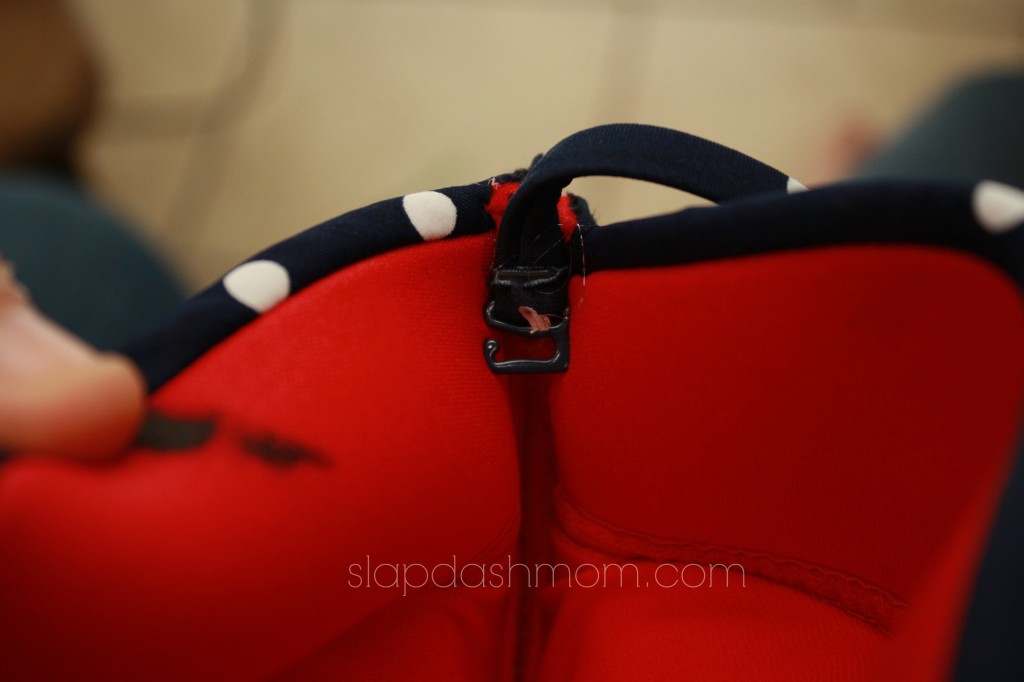
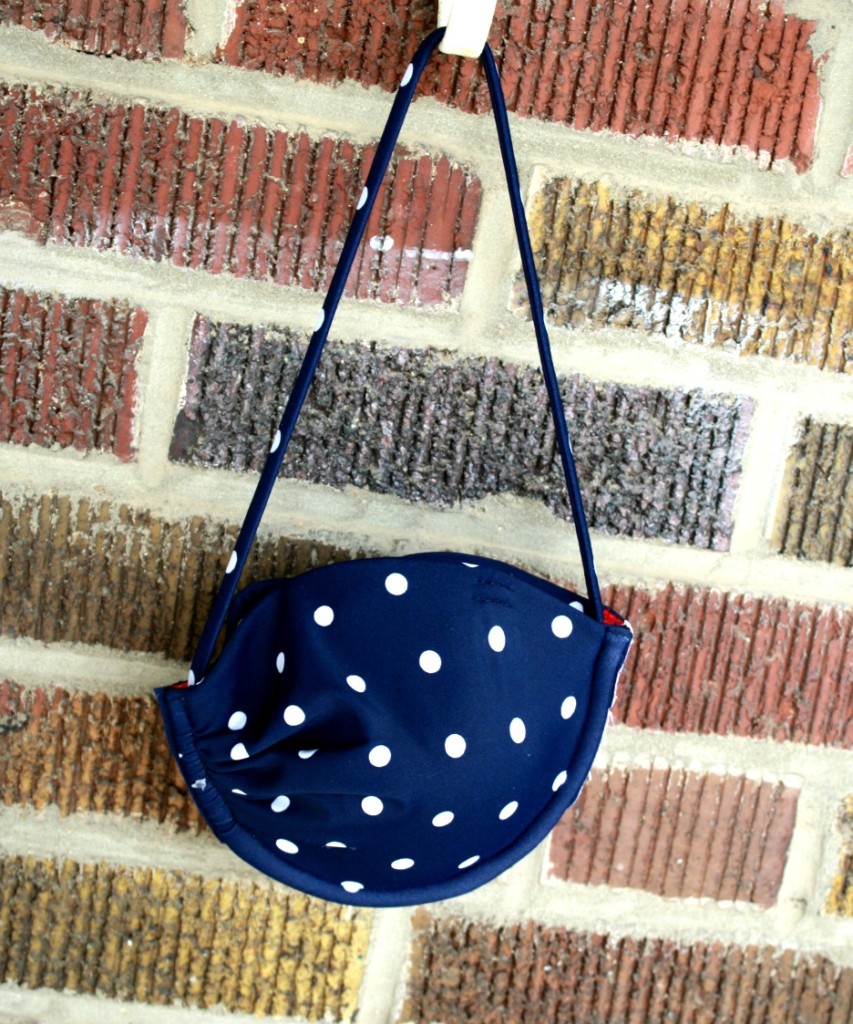
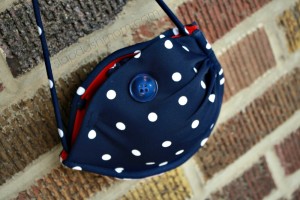
And with the blue and white bra purse, it was a bikini top so the closure is different but I actually prefer it to the others.
DIY No Sew Bra Purse Tutorial
Materials
- bra with underwire
- hot glue & hot glue gun
- scissors
- Optional: ribbons, beads, buttons, or other embellishments
Instructions
- First, cut the bra up. Basically, you’re cutting the cups out. Cut close to the underwire, but don’t cut the fabric around the underwire open or it will end up poking out. Save the scraps for later.

- Use hot glue to attach the cups. If you use too much, it’ll ooze out the bottom – so be careful.
- At this point, if you don’t like how the bottom of the purse looks, cover it with some ribbon, beads, or fringe.
- Next, you’re going to add the straps. This bra only had one short strap (because it was a halter-style), so I made it like a little handbag instead of a purse with long straps. If your bra doesn’t have long enough straps, you can use yarn or ribbon to make them (or lengthen them).
- Add embellishments to the outside of your purse, if you’d like. I think buttons and beads are cute. You can sew them on, but hot glue should be fine

Closing the purse
- The type of bra you use will determine which type of closure you use. With the light pink and black bra purse, I used the regular bra closures.
- And with the blue and white bra purse, it was a bikini top so the closure is different but I actually prefer it to the others.

Oh, and I promised a photo of Rachel wearing a bra… so here it is!
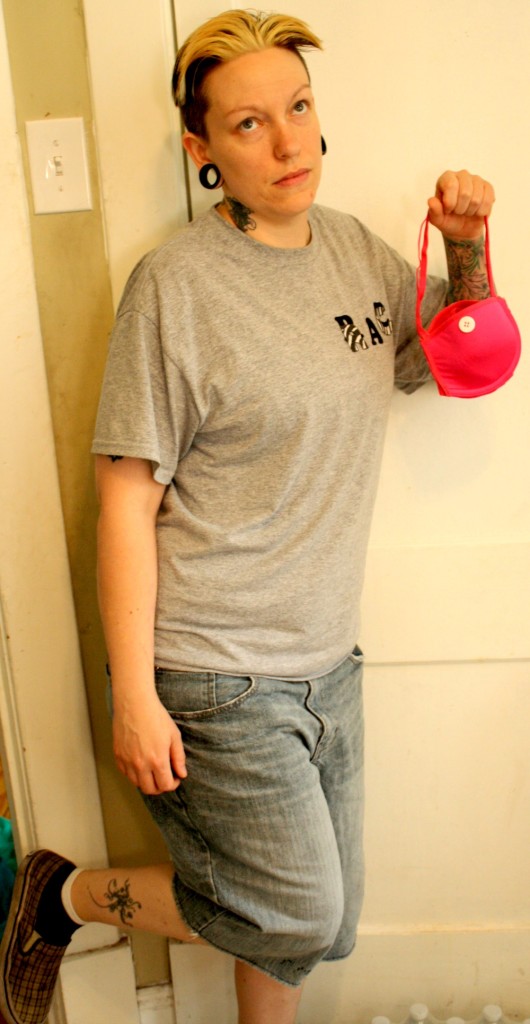
Yeah, so she wasn’t too impressed when I asked her to hold my bra purse for photos… but she was a good sport and did it anyway. :) I love how she even did her little foot kick.

Leave a Reply