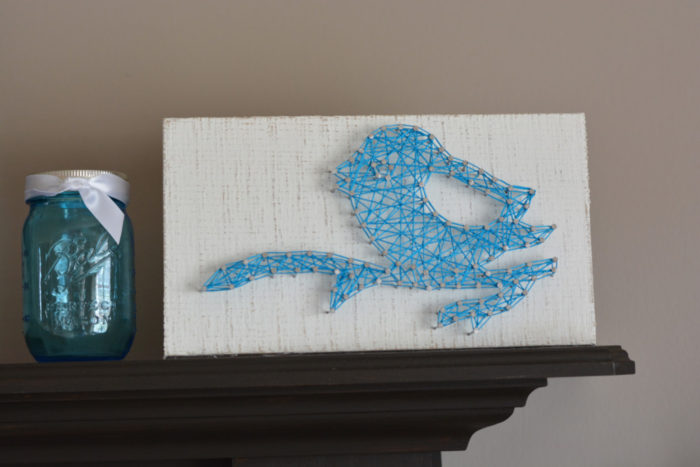
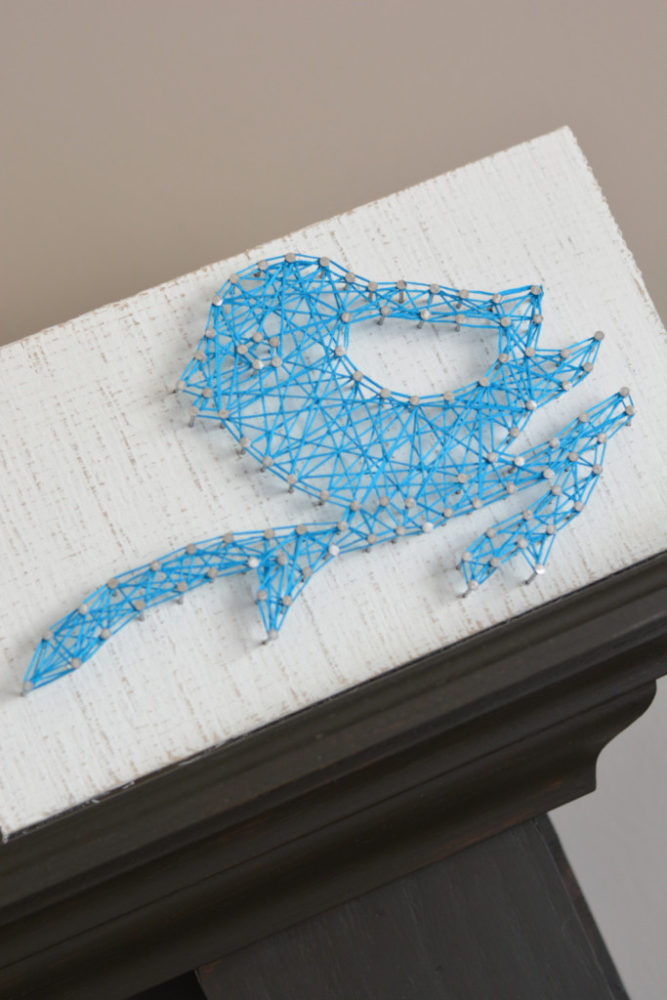
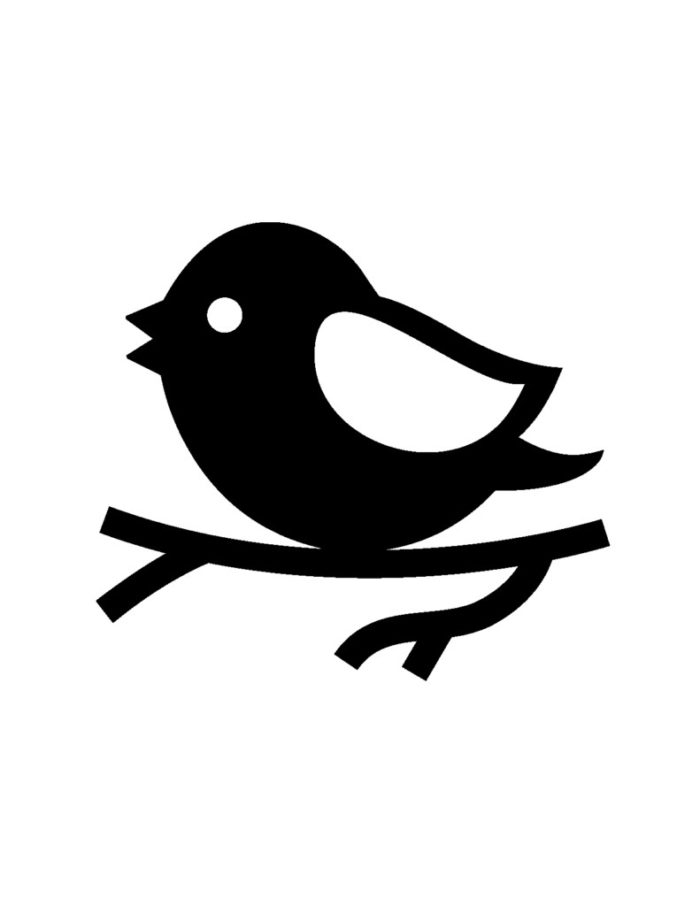
DIY Bird String Art
This is going to be the perfect Mother’s Day Gift!!
Materials
Wood Pallet Board (mine measures 6.25″ x 11″)
White Acrylic Paint
Sanding block or sand paper
Paint Brush
Wire Nails (3/4″ x 20 gauge, 2 ounce box is plenty)
Embroidery Floss (used DMC 3844, Qty 2)
Pattern, printed on paper, not card stock
Tweezers
Old Towel (optional)
Directions:
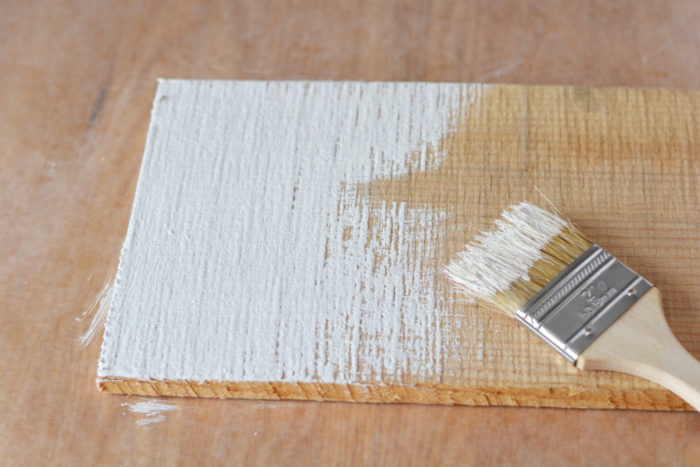
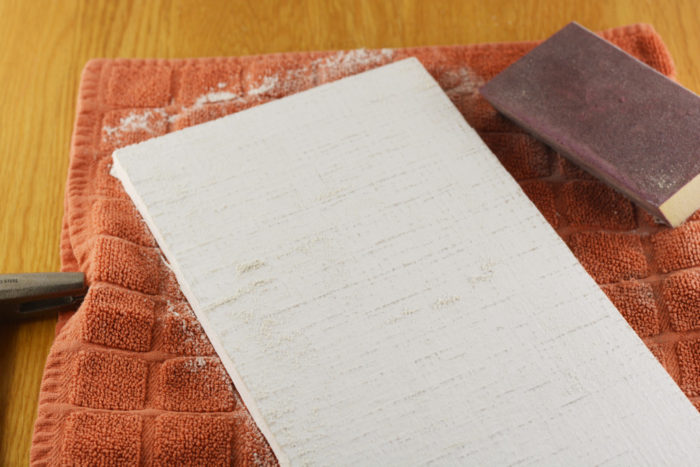
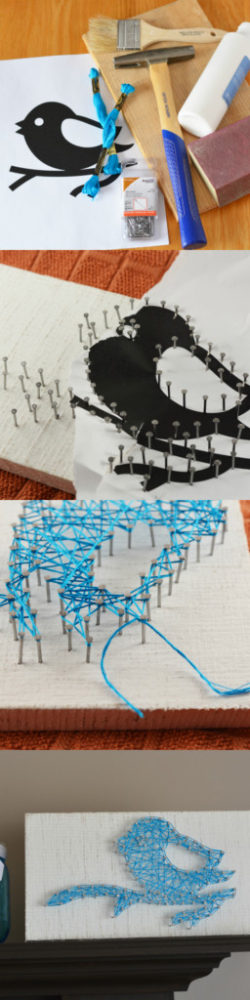
Use white acrylic paint to paint the board. Let dry. Gently distress the board by sanding in random places.
I like to place my board onto an old towel before I drive the nails into it. It softens the sound and protects the surface I’m working on.
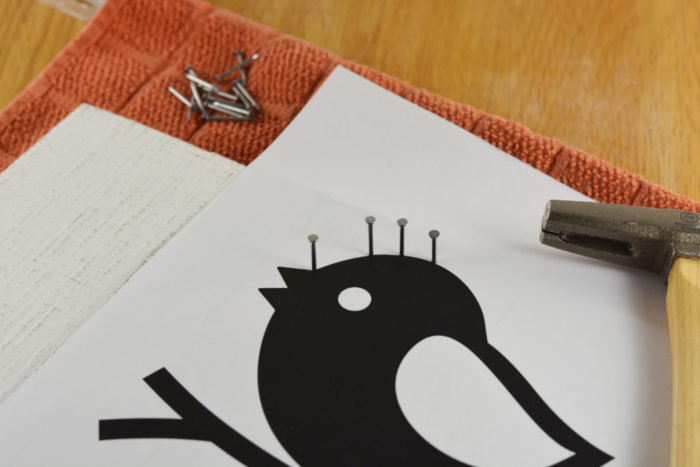
Place your pattern (printable at end of post) onto your board. If desired you can affix it with a small piece of painter’s tape. Drive a nail into the outline of the pattern. You’ll want your nail about 1/2 way into the wood. Follow by adding a nail next to it, about 1/2-3/4″ apart. I usually just use a finger width when placing nails. Continue until the entire pattern is affixed to the board.
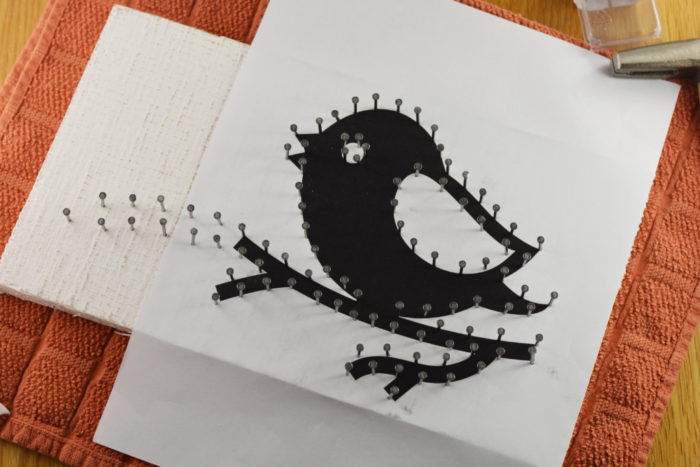
Hint: Pay attention to corners. If anything, do the corner first and then split the difference because there’s a chance the space will need to be smaller than 1/2″.
When finished – wash your hands. Your hands will be filthy from the nails. And you don’t want that all over your gorgeous white board.
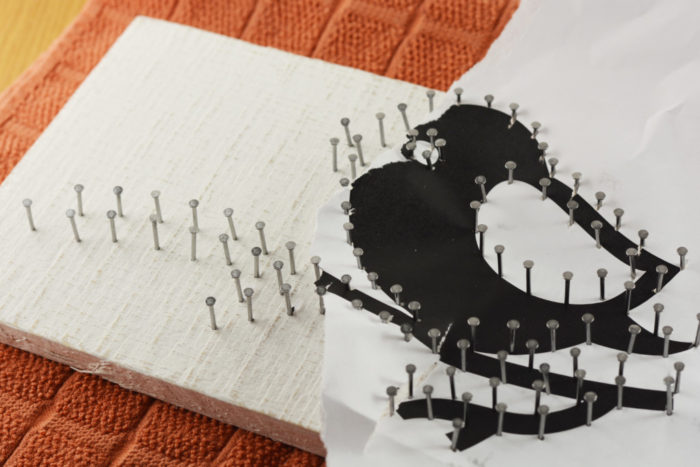
Remove the pattern. Pull your paper up and away from the base of the nails and then tear off. Use tweezers to remove those stubborn pieces of paper from the edges of the nails.
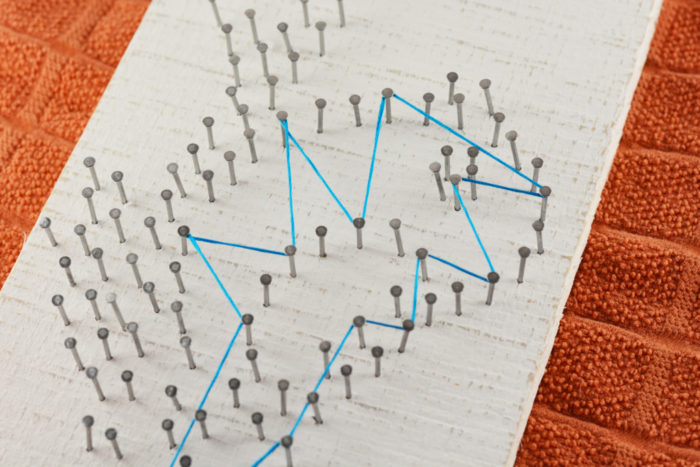
Begin to string your board. Do not separate the threads of the embroidery floss. You’ll use all six of them. Begin by tying a double knot around one nail. Leave the tail of the thread there. Do not cut. I usually end where I began, so keep that in mind.
Zig zag your floss all around and across the nails. There’s no right or wrong way and the coverage depends 100% on your liking. I like mine pretty dense, so they show up on the board, but you can do whatever you’d like.
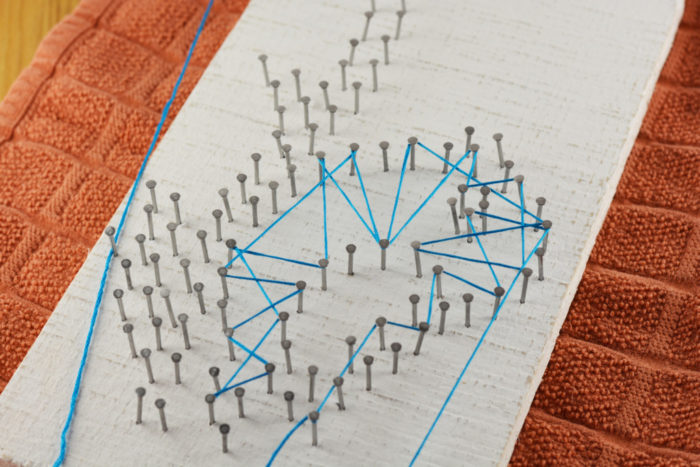
Note: You need to keep the floss tight. If it begins to slip and unravel, zig zag about five nails, then wrap the floss around an entire nail head then zig zag again and repeat the process. Also, make sure all six strands are being wrapped around the nail head.
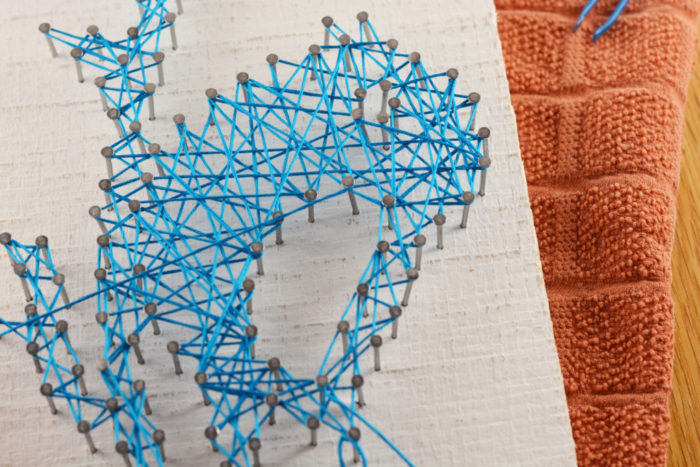
When you’re finished with the eye, move to the wing by carrying the thread across the bird to a nail on the wing. When you’re finished with the wing, return your floss to the area where you began (where you left the tail from the first double knot) and begin working on the outline just like the wing and eye. When you finish the inside and outline, tie the two strings together and trim.
Leave a Reply